This project came to me one night, just before my head hit the pillow. I love getting inspiration like that; out of the blue, when I’m super exhausted, but ends up being the perfect idea.
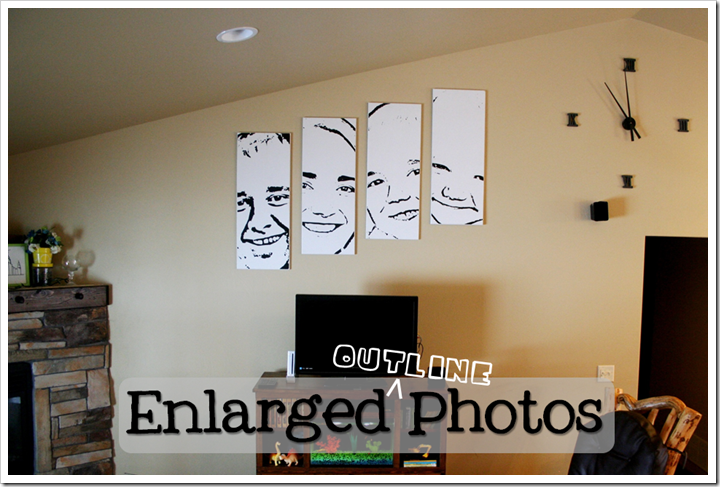
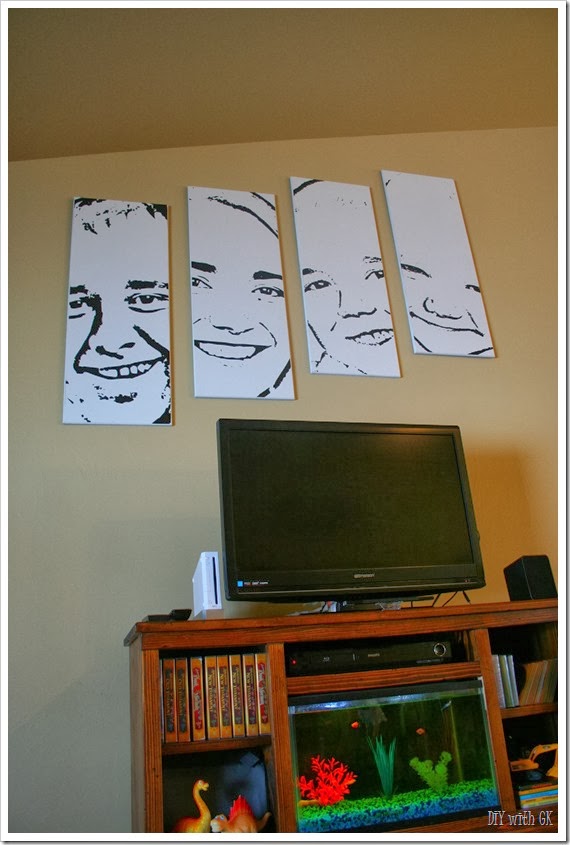
We have vaulted ceilings in our house & it’s hard for me to decorate on those walls. We’ve lived in our house for over 4 years and there hasn’t been anything on this wall, until now! I knew I wanted these pictures to be big, a huge statement when people come to our house. But it’s not just for others that visit us. I love looking at these pictures, particularly the cute little grins on our boys!
So here we go, this is how I made our enlarged outline photos of my family to go on the walls of our vaulted ceiling in the living room.
(if you are more interested in buying them instead of making them, by all means, visit our shop HERE!)

I went to Home Depot & bought a sheet of MDF (1/2”). I also had them cut it right in the middle so that it would actually fit in my truck without sticking out the bed. Did you guys know that? Home Depot will make one cut for free, so you might as well utilize that free gift when you are purchasing a huge sheet like MDF (comes in 4’ x 8’ sheets).

When I got home, I cut them to size on our table saw. My boards are 14” x 36” and I set the table saw fence at each length and cut all four before I switched the fence to the next measurement. Working on my efficiency skills right there, folks!


I also routered all the edges with a bevel edge. MDF isn’t the best thing to router, so I had to be careful about it and went with the blade so that it didn’t tear the board to shreds.
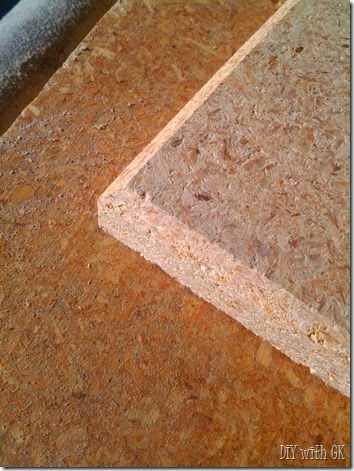


Next came the paint. I’m a solid Rust-oleum fan, particularly when it comes to spray paint, so I went with Rust-oleum protective enamel, satin white (got it at Wal-Mart for less than $4). That little 8 oz. can barely covered all four boards, but it was practically the perfect amount. I probably could have use another 1 ounce, but I made it work.


Meanwhile, as the paint dried, I got to work in the Silhouette Studio. This is the main part of the whole project, the photos. Here’s a quick run through on how-to:
(1) Find the pictures you want to use.
(2) Import them into Silhouette Studio.
(3) Trace. This part was a little more involved because I had to adjust the ‘high pass filter’ and the ‘threshold’ until it was how I wanted it to look. It’s best if the photos are a higher resolution & overall all good quality when it comes to this part, otherwise it gets pretty gritty and pixilated, or weird dark spots because of the lighting, etc.
(4) Adjust the size of the picture and crop as needed to make it fit on your board (again, mine was 14” x 36”, then adjusted for the beveled edge).
(5) Cut the vinyl. My Silhouette only cuts 8.5” wide, so it was quite the process getting things cut & lined up in pieces. Ugh. I need a bigger vinyl cutter!!


Once the paint was dry (24 hours later) I lightly sanded with a fine grit sandpaper. Then I cleaned off the dust to prepare the boards for the vinyl. Now, just to be clear, these outline pictures are white & black paint. Not vinyl. I used the vinyl as a stencil, not the actual art piece. I didn’t know if the vinyl would line up perfectly or if you would be able to tell that they were in pieces (because my Silhouette only cut 8.5” wide, and the boards were 14” wide), and I thought that would be pretty tacky if you could see the pieces that didn’t go together exactly. So I opted for using the vinyl as a stencil and then black paint for the picture.
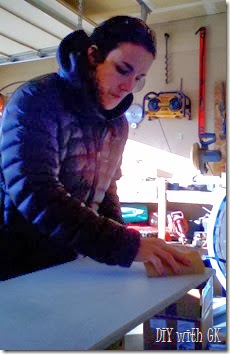

[sanding, and part of a board ready for painting - with the stencil & paper & tape applied]
It was a bit time consuming to apply the vinyl stencil and cover up all the edges & places that I didn’t want painted, but it was so worth it! Once that process was done, I painted. I used Rust-Oleum 2x coverage spray paint, semi-gloss black. 
before -and- after


The fun part was the reveal. Peeling off the vinyl, tape & paper after the black paint was dry. For every picture, I was nervous that it wouldn’t turn out right, but each time I finished, it was perfect. Check out this video of the reveal on my picture, it makes me smile every time (literally, as you will see at 26 seconds in!!)

Hang them up! I tried a new method for hanging these pictures. I didn’t want to deal with a nail in the wall, let alone 8, so I talked myself into these Command strips. I saw an advertisement on Hulu for them so I went with it.

Two sets of these large mounting stripscan hold up to 8 lb pictures, and my boards are 6.5 lbs each. It was really easy to apply them too. The instructions are right on the back of the container, so I wont do a step-by-step descriptive for that process. Although, here is a quick picture lesson for ya!

Then you admire your work, every day! I think one of my absolute favorite things about these new pictures is that my 2 year old sees them and every time will say in his language who each one is and laughs. It is the cutest!!


______________________________________________________________________________________________________
If you are interested in purchasing your own enlarged line art portraits, please visit our etsy shop – HERE!
_______________________________________________________________________________________________________

--
{FEATURED ON}