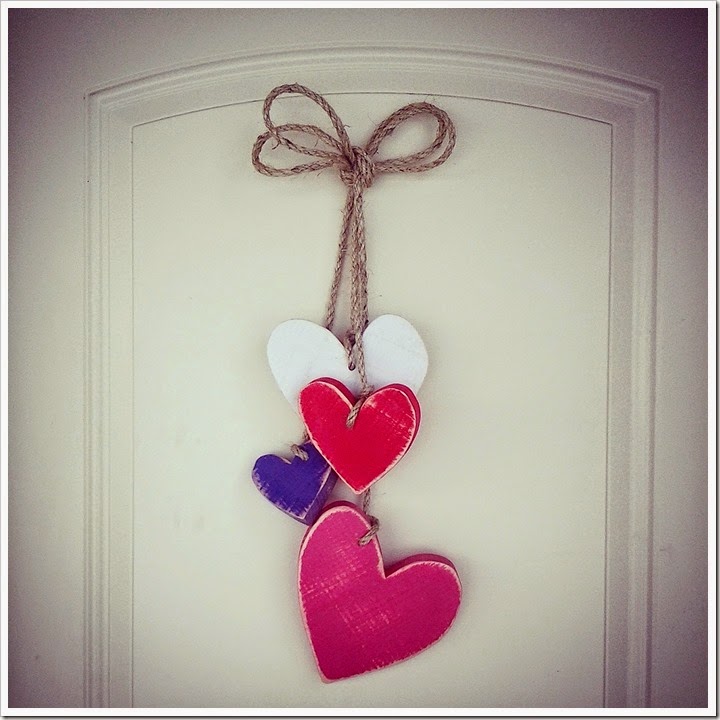
With Valentines Day just around the corner, I decided to make some hanging hearts for my front door. I’m not a huge fan of wreaths, and only can stand to use them once in a while, so I try to come up with something different for my front door instead.
I started with 4 different sizes of hearts – I printed the outline of them from my computer, random sizes, and cut them out by hand. Then I traced them onto some lumber. All of our lumber is hand milled (by my husband Grant), but of course you can just go to the lumber or hardware store and pick up a piece. You don’t need very much for these hearts (depending on their size). I used about 1.5-2’ of lumber.

After tracing them, CUT. I love, love, love my scroll saw!
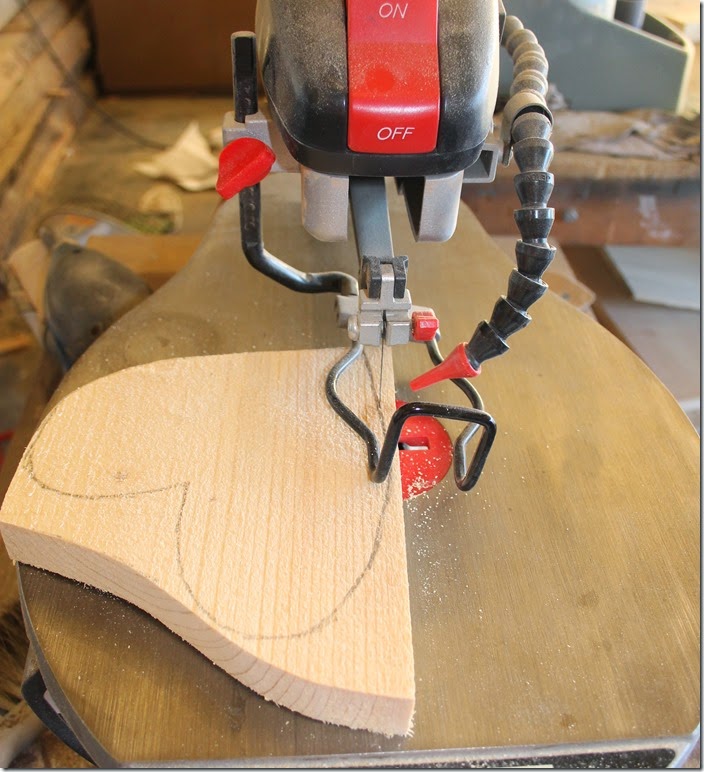
The cut hearts

And just a picture to show the rough, home milled wood I like to use. Most of the time I’ll plane it before I use it, but I purposefully left it pretty rough, so that when I sanded, after I painted, it would have a worn, rustic look.

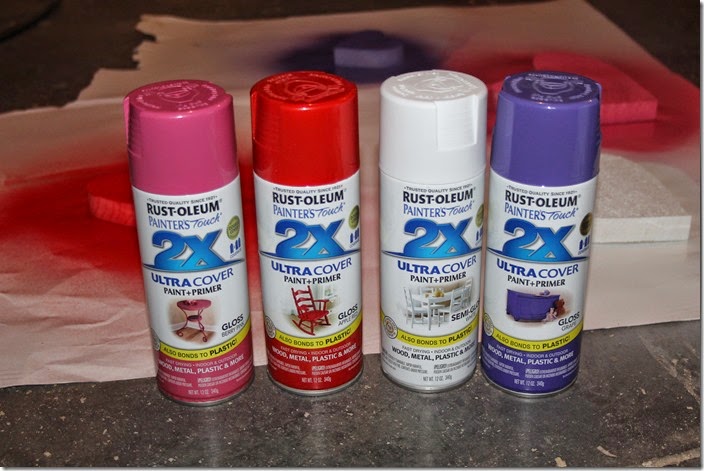
On to painting. Since I cut 4 hearts, I went with 4 different colors. I’m a huge fan of Rustoleum 2x coverage spray paint. The colors I used = Berry pink, Apple red, White, & Grape.
Sanding comes next. Like I said before, I left my hearts rough so that when I finally sanded them smooth they had a worn, rustic finished look. And I purposefully sanded the edges more than the rest. Next I applied a final coat of clear coat (matte or gloss, it’s up to you. I used matte because I have a bunch of it around).

You can either stop there & tie a rope/cord around the hearts for a table/shelf display (see picture below), or you can keep going (like I did with my hanging hearts).

The rest of this project is determined by how & where you want them to hang. I drilled a hole in the hearts (either the top center or off to the top side), a little bigger than the rope I found. I like to keep things sporadic & random, so I couldn’t tell you exactly where I drilled on each heart.
The rope I used was found at a local hardware/ranch store, and it’s almost more of a twine than a rope. It’s about 1/4” thick. I cut two 5’ sections of the twine (from a 40’ roll) and tied them in a “bow” in the middle. I’m not an expert “bow-tier” but I did my best ;)

Each heart was then tied to one of the dangling pieces of rope/twine, at different heights. I didn’t use any specific knots, just tied it on and made sure it stayed. Actually, I made sure it REALLY stayed by dabbing some E6000 around all the knots, including the big bow (in the back).

And there you have it. A fun, cute & non-wreath Valentine’s door hanger!



FEATURED ON:


