March 8, 2013

USA bulletin board map


image

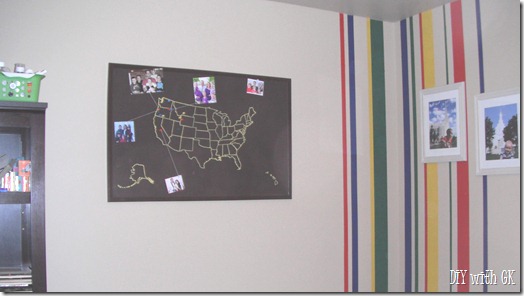
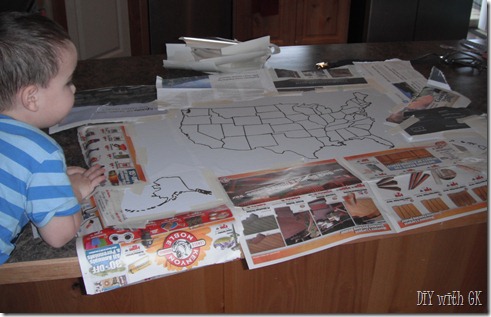
Last week for my little G man’s at home preschool was T week. This week was ‘U’ and one of the days we did ‘United States’. We did a few other activities, but this is what we ended with. A map of the United States on a bulletin board, with pictures of family so he can see where everyone lives.

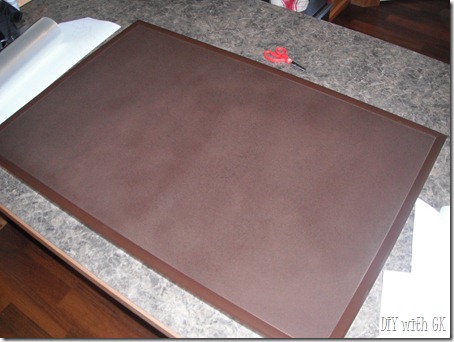
To make this, I started with a regular bulletin board, from Target (less than $10) and painted it ‘espresso’ to match the rest of the furnishing in their bedroom.

DSCF2970

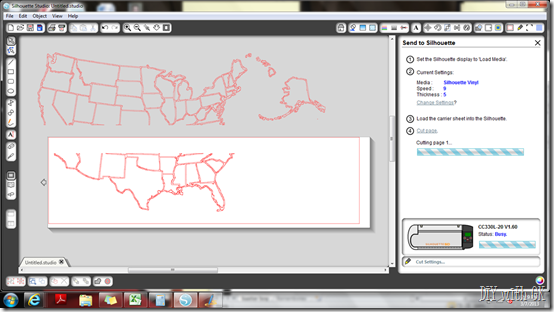
Then I used my Silhouette (as always!) and cut out a map outline of the U.S.A. out of vinyl. I had to do it in two sections, because my Silhouette is only 9” wide (not the cameo).

image

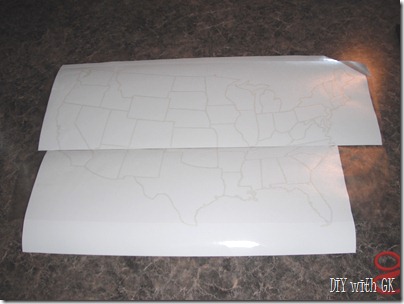
I peeled away the lines and applied the transfer tape (see the two sections together).

DSCF2972

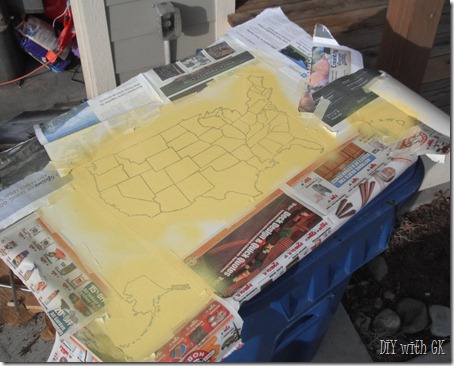
Then I put it on the bulletin board and covered all the other areas I didn’t want yellow. DSCF2975
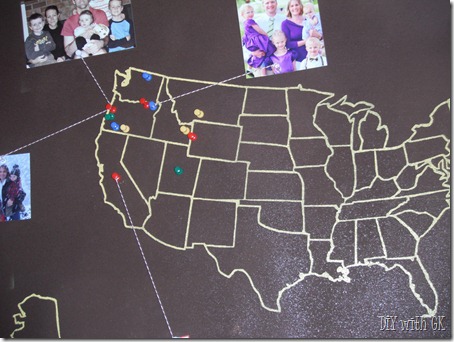
I sprayed the outline with ‘sunshine yellow’. I probably should have done a better job at covering the other areas because there was a tiny bit of paint on the board where I didn’t want it. Luckily pictures will cover those areas, no problem.

DSCF2979

I took everything off and pinned where his aunts, uncles, cousins and a few friends live. I haven’t printed all the pictures yet, so this map still has some work.

DSCF2980

I was also thinking of adding some pictures of important places – like where Grant and I got married (Portland, OR temple), and things like that. Our map is a little one sided…looks like the family needs to branch out a little more ;)

DSCF2983

Project details:
*spray paint: Rustoleum - Espresso & Sunshine Yellow
*vinyl: GreenStar Intermediate Vinyl (white, but color doesn’t matter)
*transfer tape: DigiClear plus Clear Digital Transfer Tape, low tack

diy with kiley

March 1, 2013

T is for Teeth

This week is T week in our house. Little G man loves doing ‘preschool’ and I do my best to do at least one activity (on most days). Doesn’t always happen. I get all my ideas from my sister’s blog – Preschool Alphabet. She has some great ideas and a calendar to follow and things to do each day. Makes it really easy.

T is for Teeth. We started off by looking at a tooth chart and I gave little G man a mirror so he could see his own teeth. He counted them and looked at the ‘big ones’ in the back (molars) and the littler ones in the front (incisors).

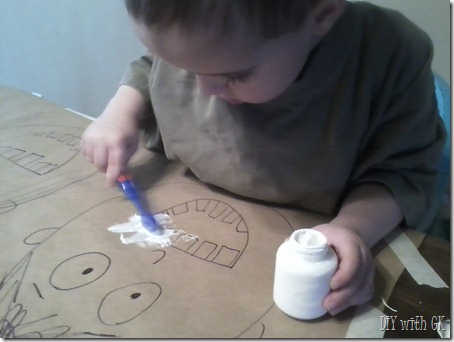
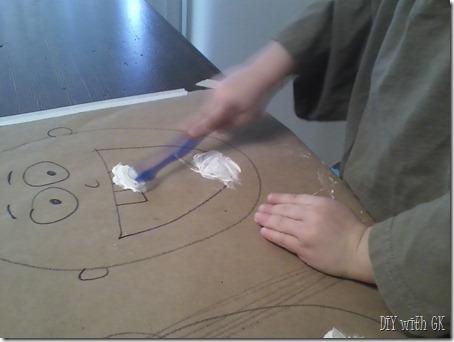
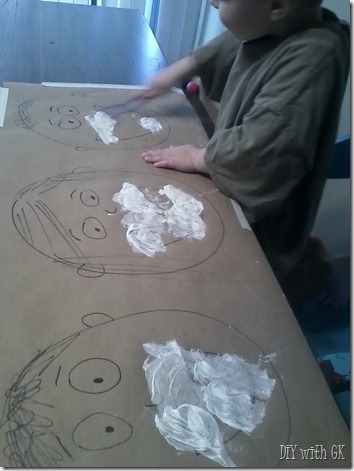
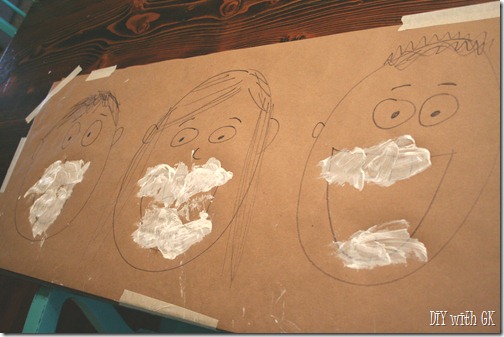
Then came the really fun part. I used some brown packaging paper (because it’s a little thicker and I wanted something big and long) and drew big faces on it with huge mouths. Then I drew in some teeth – kind of crazy looking teeth, but teeth nonetheless! I gave him an old tooth brush and some “toothpaste” (white paint) and he got to brush all their teeth.

0228131046

He loves painting, so this was a win. He did such a good job staying just on the teeth too. Normally the whole face would have gotten a good cleaning!

0228131050

These faces actually look like they brushed their teeth, with the toothpaste all over the mouth. You can’t tell me your kids don’t look the same when they brush their teeth ;)

0228131051

Too fun!

IMG_0499

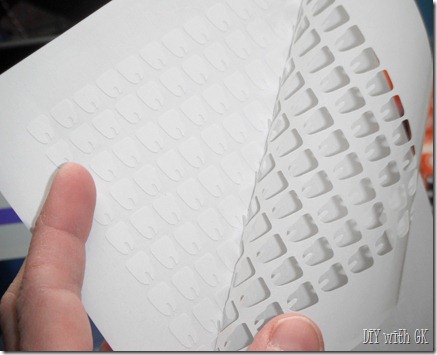
Then I got my Silhouette out (again) and cut some teeth stickers for him. I love cutting stickers with the Silhouette. You can always get the stickers you want!

DSCF2861

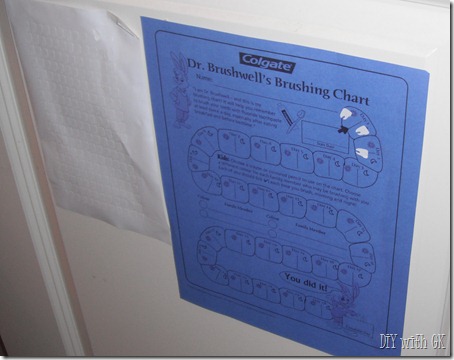
I printed off a ‘brushing chart’ and rather than give him a crayon or pen to mark off when he brushes, he gets to put a tooth sticker on the day! He’s actually really good about brushing his teeth, mainly because it means he gets to play in the water for a while.

DSCF2913

T is for Teeth!

diy with kiley