October 9, 2014

Kid Friendly {and super fun} Gender Reveal

I am pregnant with my third baby and I had yet to do something fun like this for a gender reveal. With our first kid, we had the ultrasound tech put it in an envelope and we opened it for Christmas. Our second kid, we just had the ultrasound tech tell us during the ultrasound. But with #3 I wanted to do something fun, mainly because our two kids are old enough to get excited about it. So I came up with a modified version of a gender reveal that a friend of mine suggested.

genderreveal 

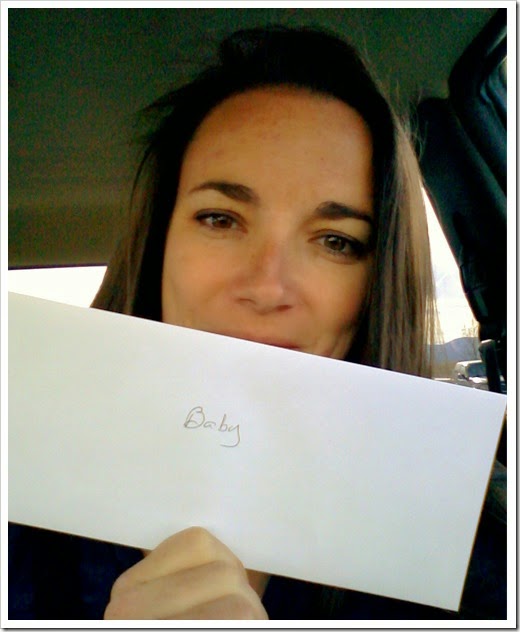
I had the ultrasound tech, once again, write the baby’s gender down and put it in an envelope! Then on my way home, I stopped by a friends house and had her help me with the next part.

 20141009_111520~2

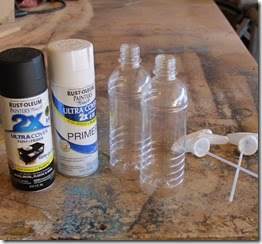
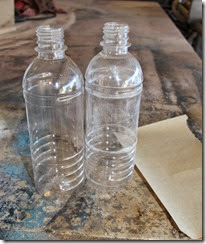
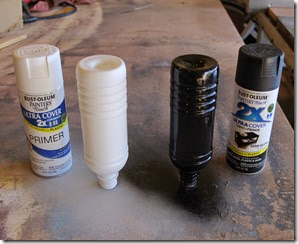
First project in this project! – SQUIRT BOTTLES. I turned these $.97 squirt bottles from Wal-Mart from clear to black ‘secret keepers’ {how to: sand the bottle a little, spray with primer, then black (maybe two coats just to be safe), done!}

IMG_1640IMG_1642IMG_1645

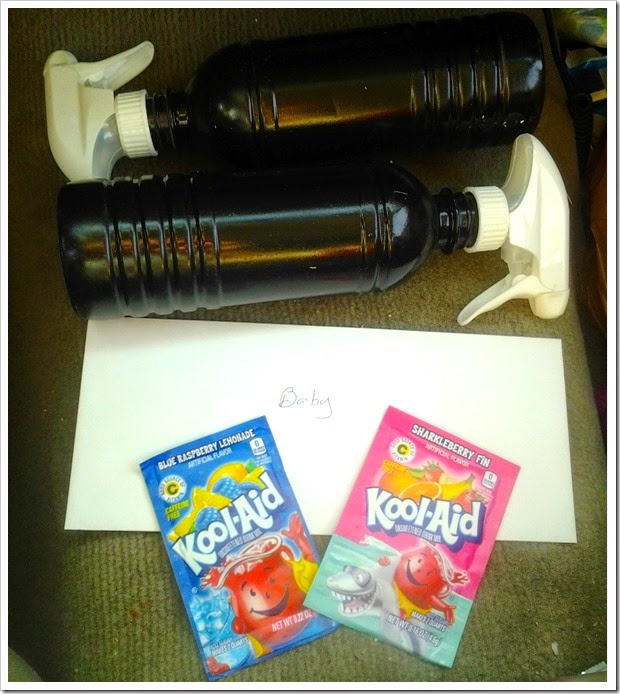
The only other items I bought were blue & pink kool-aid packets = $.20 each, and a white shirt (to fit my husband) = $3 at Joanns.

When I stopped at my friends house on the way home, I handed over the squirt bottles, kool-aid, and the envelope with the gender in it. She hid in the kitchen and opened the envelope, then proceeded to fill the squirt bottles with the correlating kool-aid (and water). It’s was exciting to see how excited she was about it!! I carefully hid them from sight until my husband got home from work for the reveal. That was hard!!

   20141009_115718

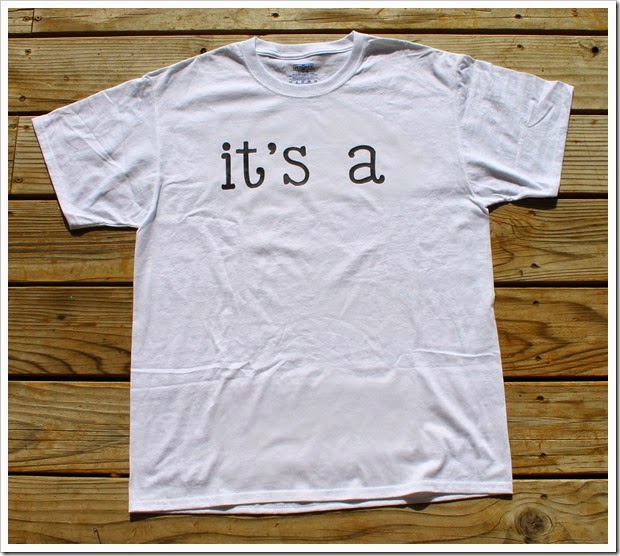
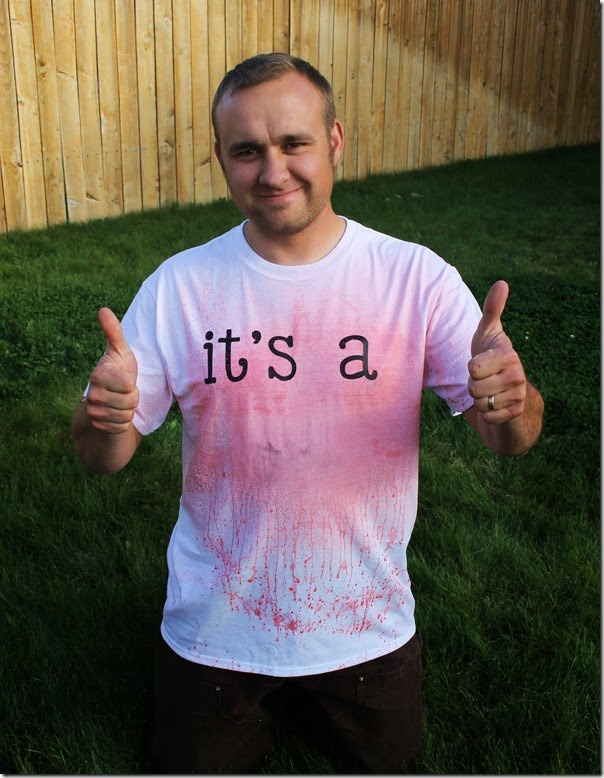
With the white shirt, I used my silhouette to cut out ‘it’s a’ from heat press vinyl. It was a really easy shirt to make, but I did have the tools on hand. If you don’t have a silhouette or heat transfer you could always use a sharpie, or if you are really interested let me know. I can make more!!

IMG_1647

Then came the fun & super-duper exciting part!! The reveal!

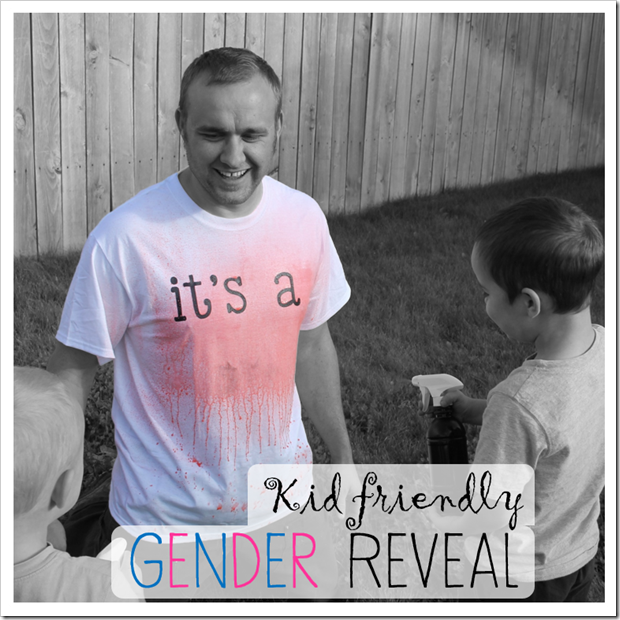
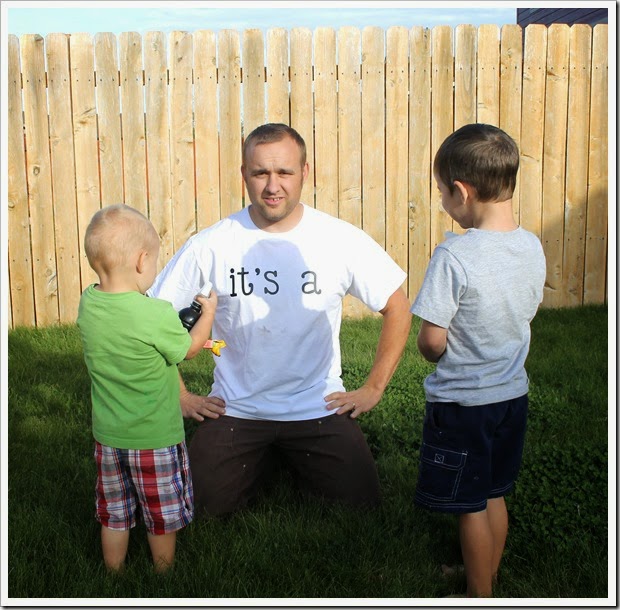
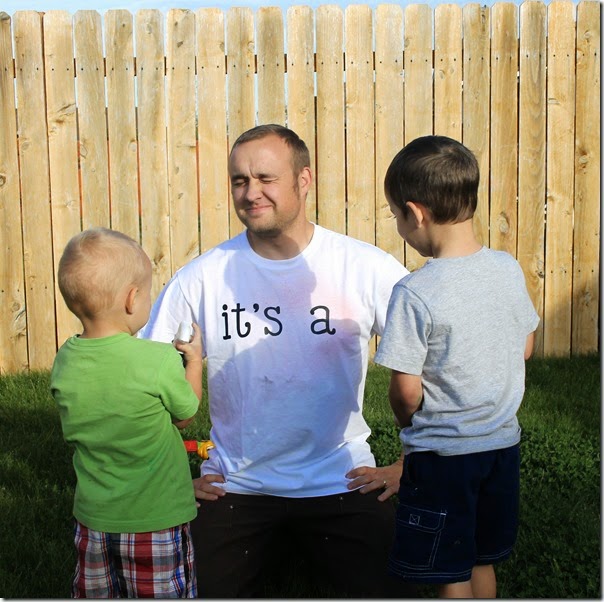
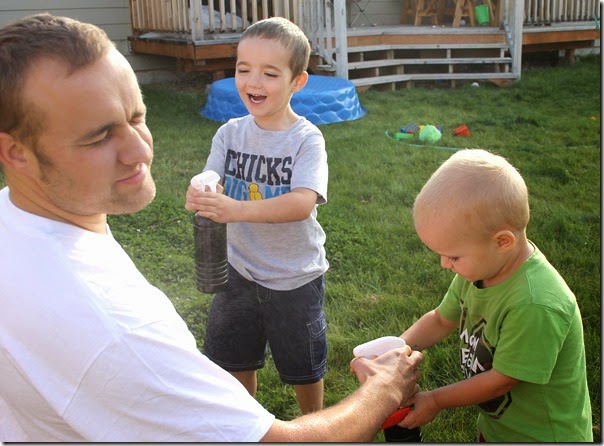
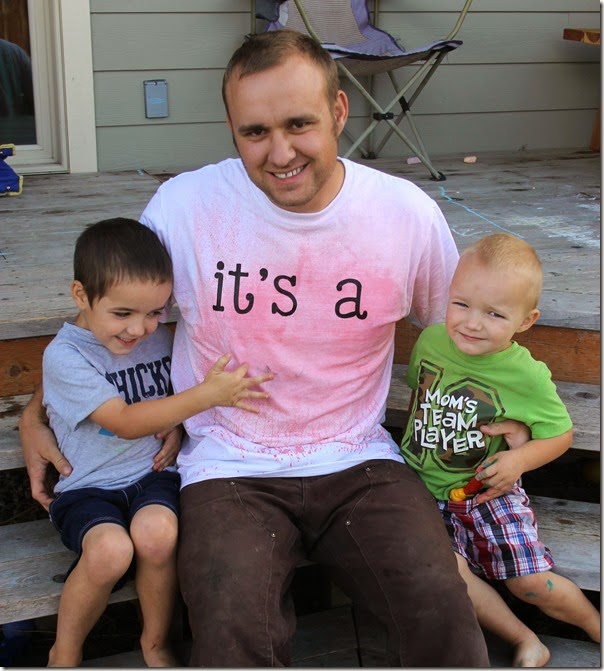
We went outside & gave each boy a squirt bottle. We told them what was up and what they had to do. I think they were more excited to spray their dad than care about the color/gender it was!!  

IMG_1653

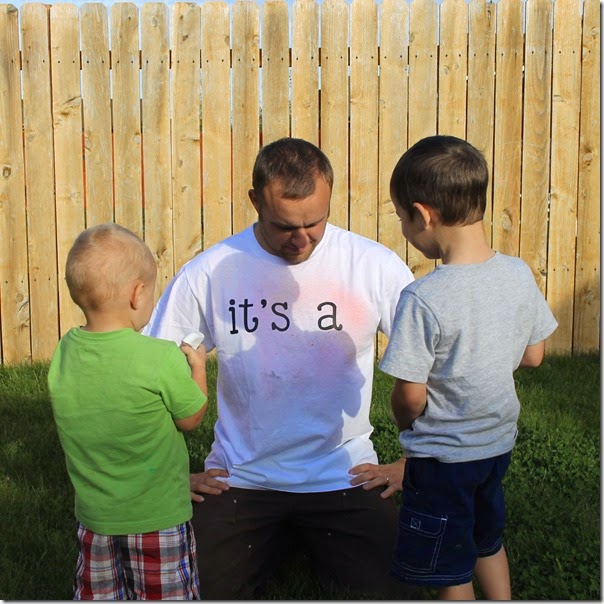
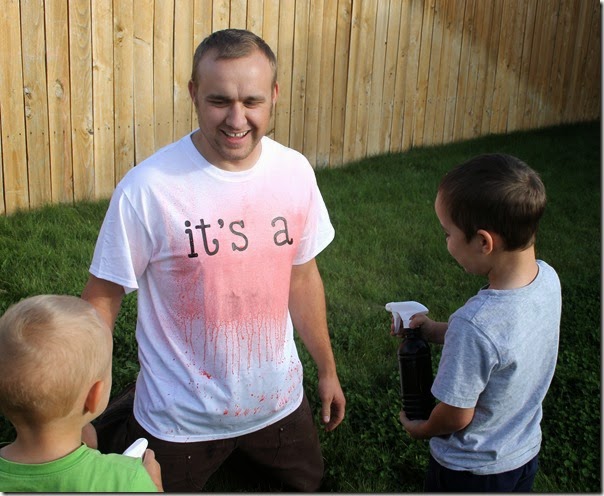
On the count of three, start spraying him (well…his shirt). 1……2……3!!!

  IMG_1654 IMG_1655 IMG_1659 IMG_1662

And if you couldn’t guess by the color…it’s a girl!!

IMG_1664

Such a fun (and pretty easy) gender reveal. They boys loved squirting their dad, we loved the surprise of the color, I loved not getting squirted or eating cake (call me crazy)…and we’re all excited it’s a girl!

IMG_1667

What you need for this gender reveal:

Squirt bottles (for however many kids/people you want in on the action) ----> $.97 each
Spray paint if you buy clear bottles like I did -----------------------------------> $4 each
Kool-aid packets (depending on how many squirt bottles you have) -----------> $.20 each
White shirt (with heat press vinyl) -------------------------------------------------> $3 on sale
A good friend to help you out --------------------------------------------------------> priceless ;)

HAVE FUN!!

diy_with_kiley

October 7, 2014

G is for Gumballs {preschool}

image

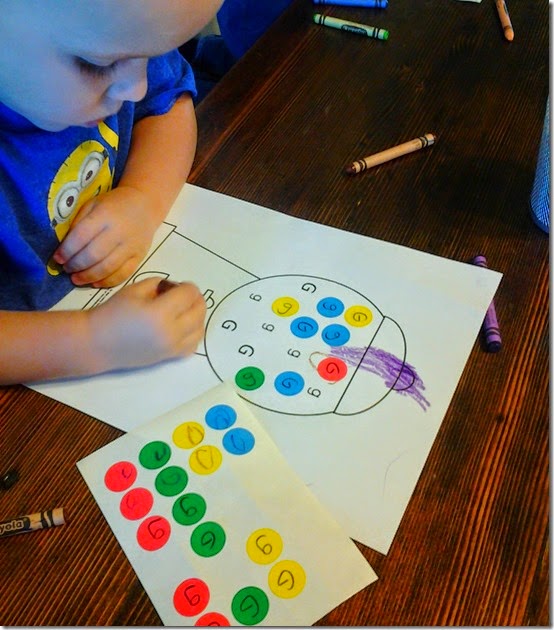
What a fun group preschool we did at our home today! I got a lot of these ideas from my sister’s blog at Preschool Alphabet! We started off with a simple G letter tracing page (found here). Then I gave the preschoolers dot stickersthat the older preschoolers had to write ‘G’ and ‘g’ on the different dots. For the younger kids, I wrote the big & little G’s on the stickers. With those stickers they had to match the capital and lowercase G stickers (aka gumballs) to the capital and lowercase G’s on their gumball machine paper that I made. Those who finished faster, colored their gumball machine until everyone was done.

20141007_101606

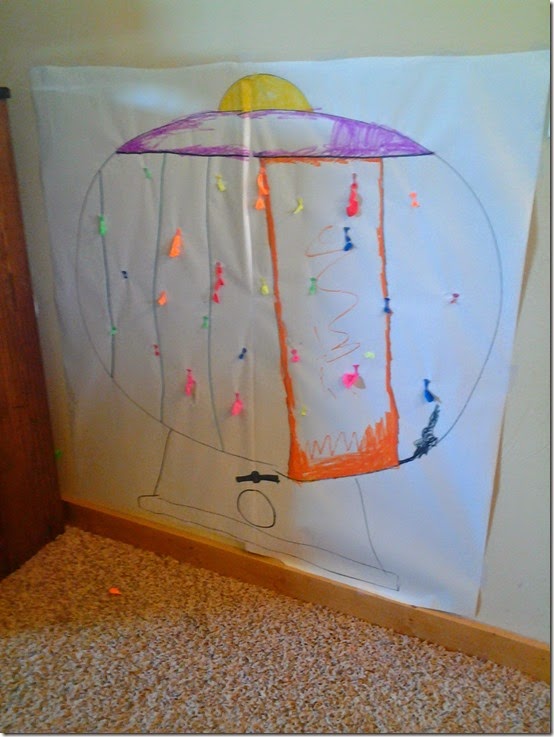
Since this is a Gumball preschool, we of course were going to pull out a gumball machine and play with it. But before we did that, they needed to get some money for the gumball machine. I didn’t take a before picture, but what I did was draw a big gumball machine on newsprint and hung it up on the wall. I put one penny inside 26 different colored water balloons (because they are smaller), blew them up & taped them on the gumball machine mural. Each penny I put inside the balloons had a sticker on it with a letter of the alphabet. The kids then took turns popping the gumball balloons (with a wooden skewer), found the penny that came out, took off the abc sticker & matched it to the right letter on a separate paper with the alphabet on it. They loved this game – popping balloons and money!!

20141007_120635[colored courtesy of my 4 year old]
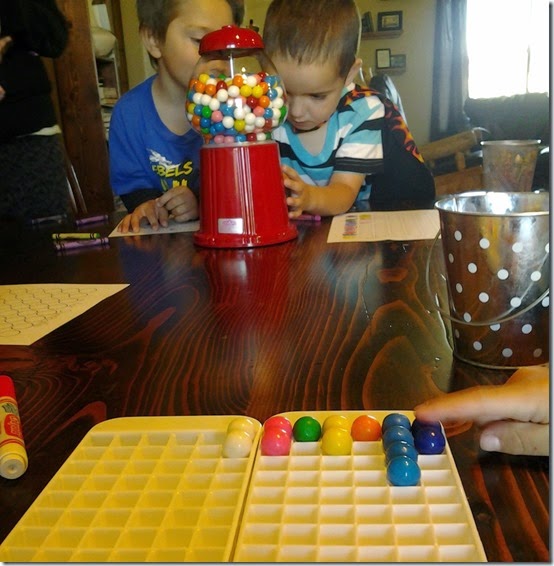
With that money they found in the gumball balloons, I got out the gumball machineand let them each take a turn getting a gumball. I printed some gumball graph papers and they had to color a circle the same color as the gumball that came out. They put the actual gumball in these ice cube trayswhich are the perfect size for the little gumballs.We went around and around about 6 times until we had a bunch of different colored gumballs. Then we talked about which color had the most gumballs, and what colors had the least, etc. They got to eat one at the end of that.

20141007_104215

I didn’t take a picture of our next activity, but the kids did some relays and games with the gumballs. One particular game, I gave them each a plastic spoon and a gumball. They had to try to walk around the couch without touching the gumball or dropping it. It was a lot harder than they thought it would be.

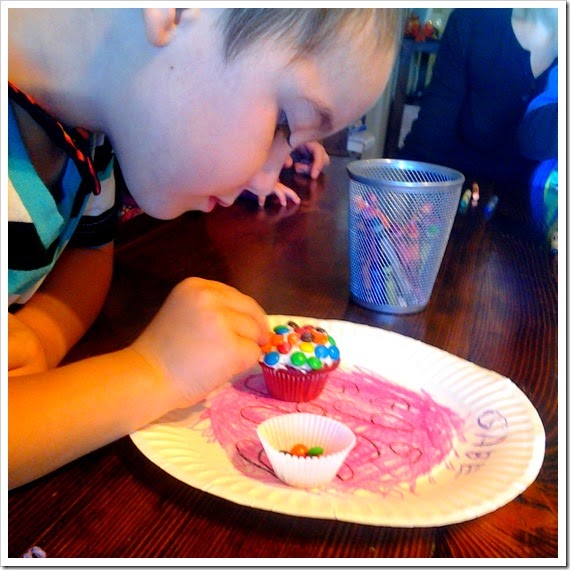
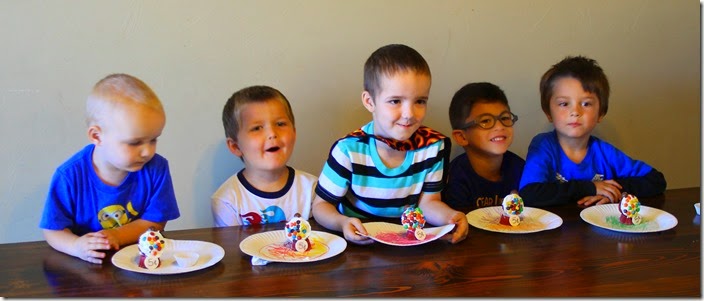
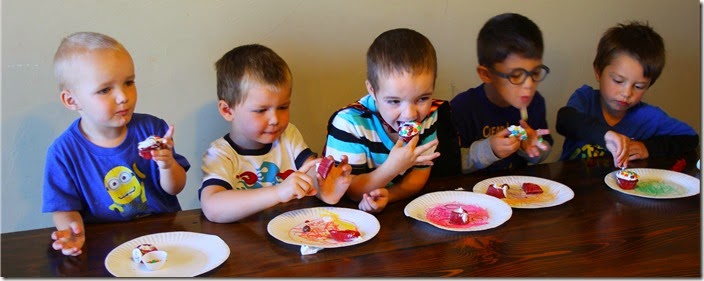
Our last activity was the gumball machine cupcake. When I found these I thought it was way too cute and had to try it! I made some red velvet mini cupcakes the night before and frosted them while they were finishing up the relays & games. They colored a paper plate to give me some more time to frost as well :) With the mini M & M’s they put “gumballs” in their gumball machine.

20141007_110059

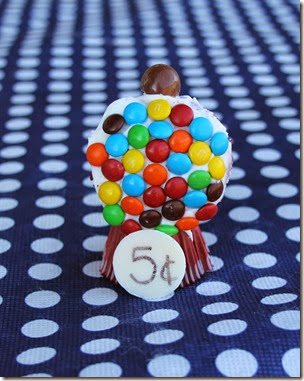
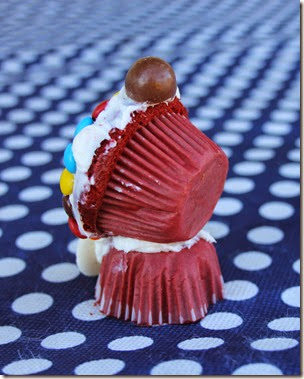
To finish the gumball cupcake, you use another cupcake with the top cut off, turned upside down. Put frosting on the bottom of it and lay the frosted & decorated cupcake on it’s side on top. Top it with half of a whopper candy and use a candy melt with 5 cents written on it with edible marker. They turned out pretty dang cute!

IMG_1624IMG_1628
[front view & back/side view]

And the preschoolers LOVED them, of course ;)

 IMG_1629IMG_1634

G is for Gumballs!

Featured on:

HappyandBlessedHome.com


diy_with_kiley