About 4 months ago I made over my doormat for the first time. I used spray paint & in less than a couple months it was already worn off. Apparently spray paint doesn’t work so well, at least with this kind of doormat.
So I decided to give it another shot. This time I used actual paint (multipurpose paint) instead of spray paint. I wanted to go for some random colors, and I’ll be honest, I’m not the best at putting colors together. If I were to do it again, I’d go for different colors. I can’t decide what those colors would be just yet, but I know I would make it with a different color scheme.
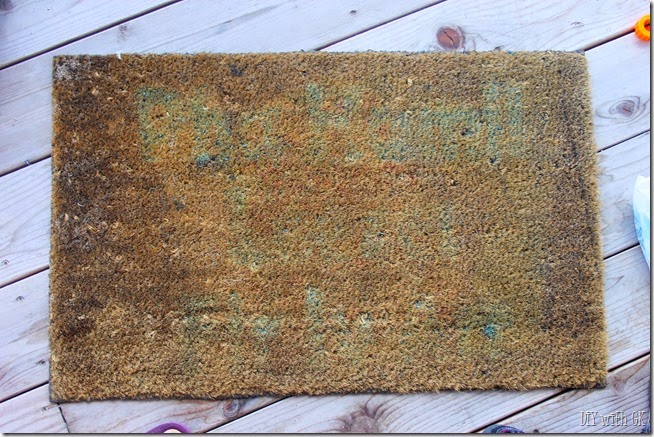
I started with the previously made-over doormat, which was back to how it started…ugly brown, with a hint of turquoise paint from before. After doing my best to clean it out/off and blowing it out with the air compressor I started painting.
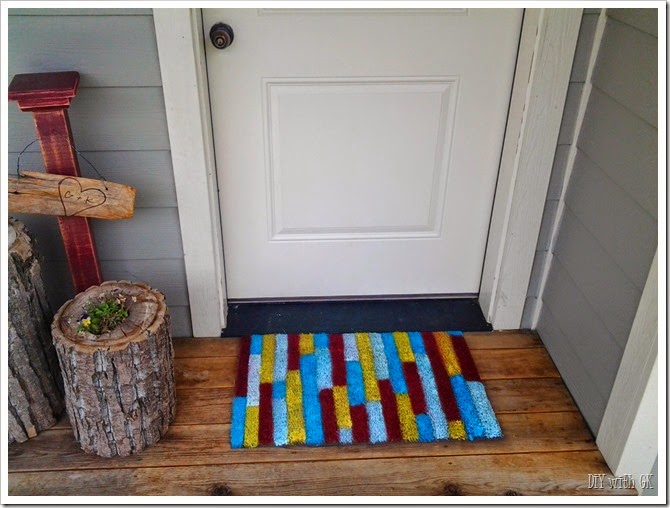
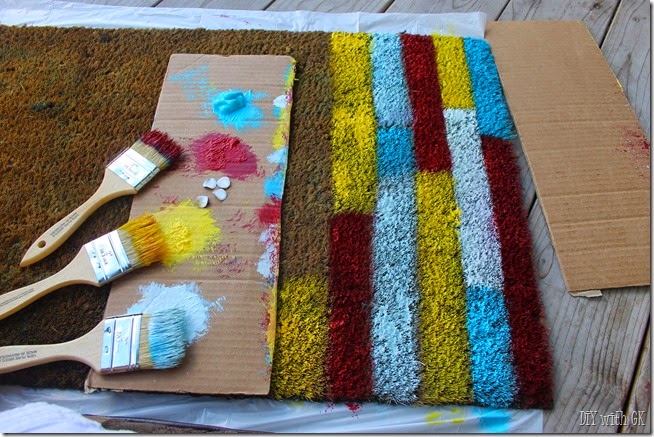
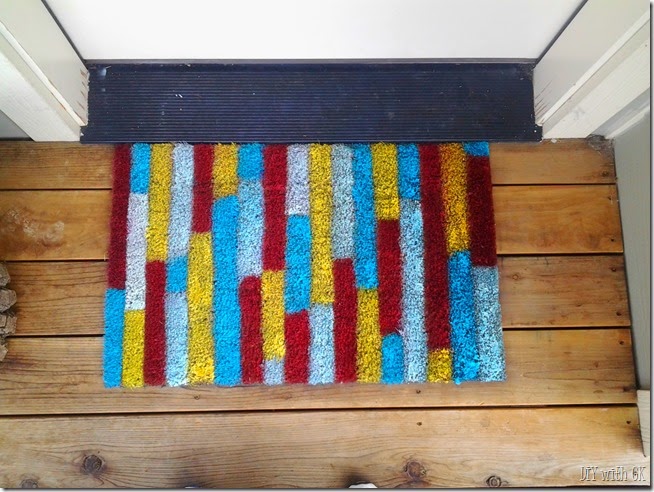
I went with a random vertical stripe pattern, using 4 different colors and a piece of cardboard to keep my lines {mostly} straight. I tried to make the lines about 1 1/4” – 1 1/2” wide.
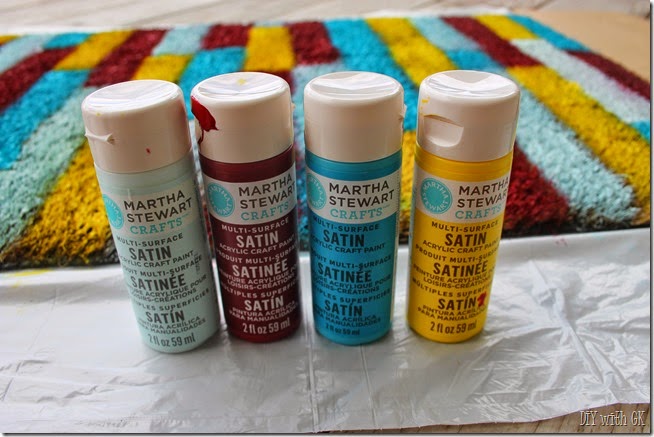
These 4 paint tubes were the perfect amount of paint for this project. I probably had enough paint leftover for a few more lines, if I needed it. As you can see, they were Martha Stewart paints, but my main need in paint was multi-purpose/multi-surface paint. I went to Joann’s and they only had acrylic paints, but these promised to be multi-surface so I went with it (I was afraid acrylic would wear off just as fast as the spray paint). I did some research before I went to the store & oil-based paints would definitely work, but again, Joann’s didn’t have what I wanted. Crossing my fingers it will hold up!
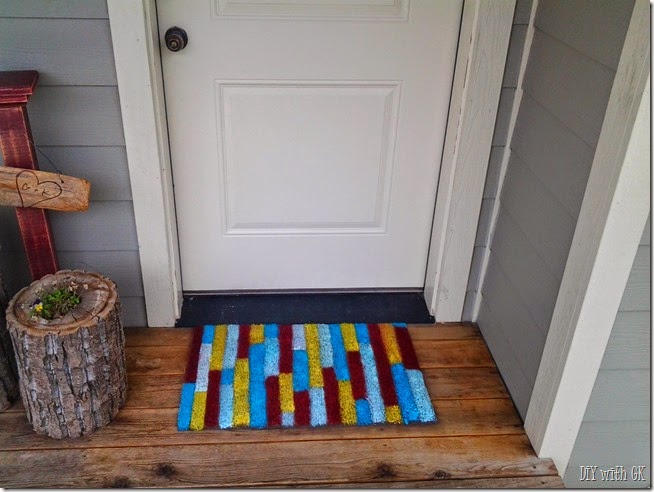
I let it dry for a few hours and then it was ready to go. I’ve had it out for a few weeks and there is no sign of wear, like there was with the spray painted version.
Now I need to plant some yellow and red flowers in my log planters to match my doormat!

