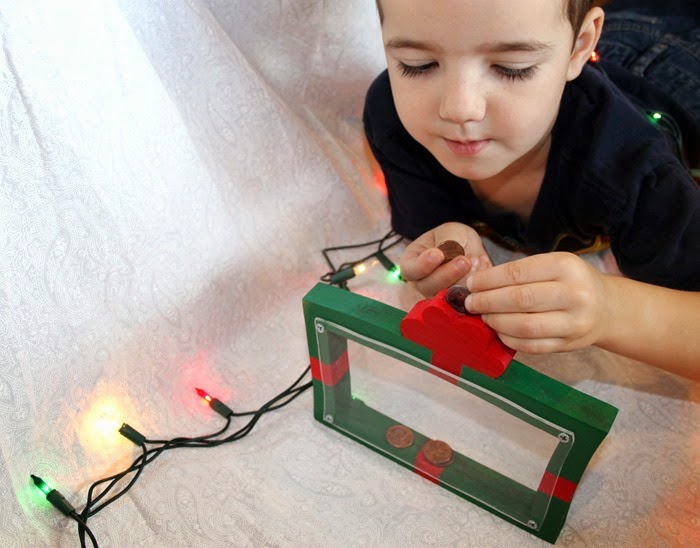
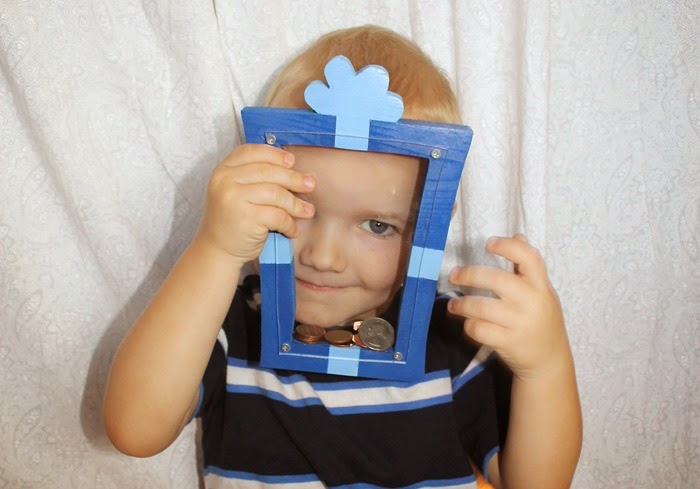
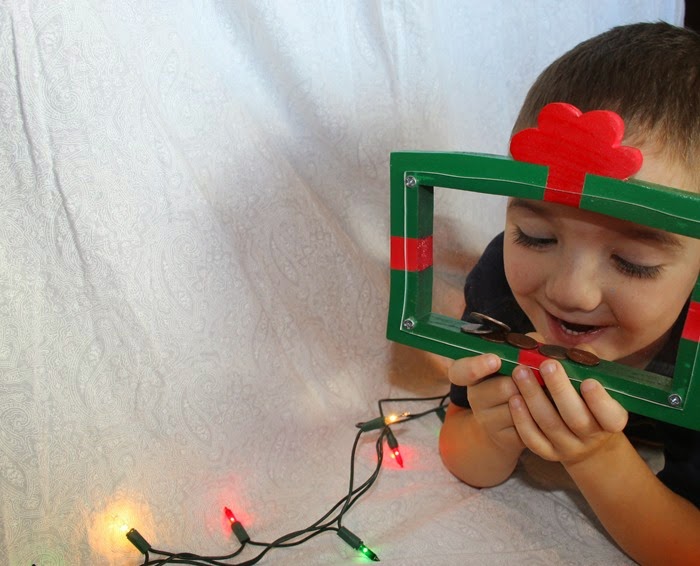
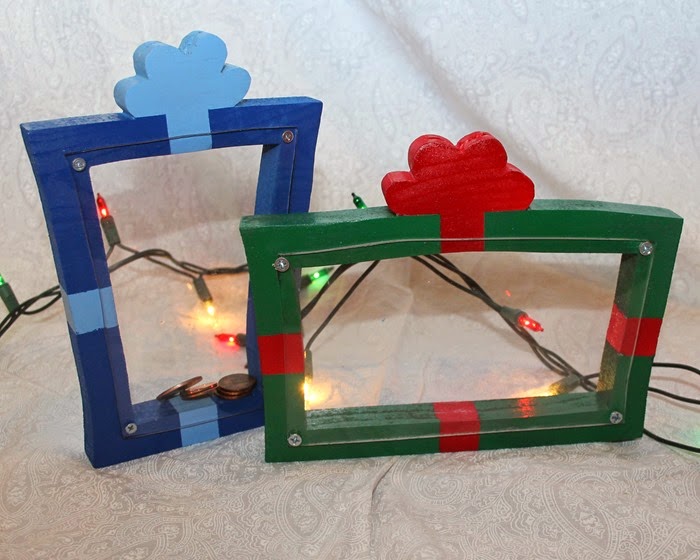
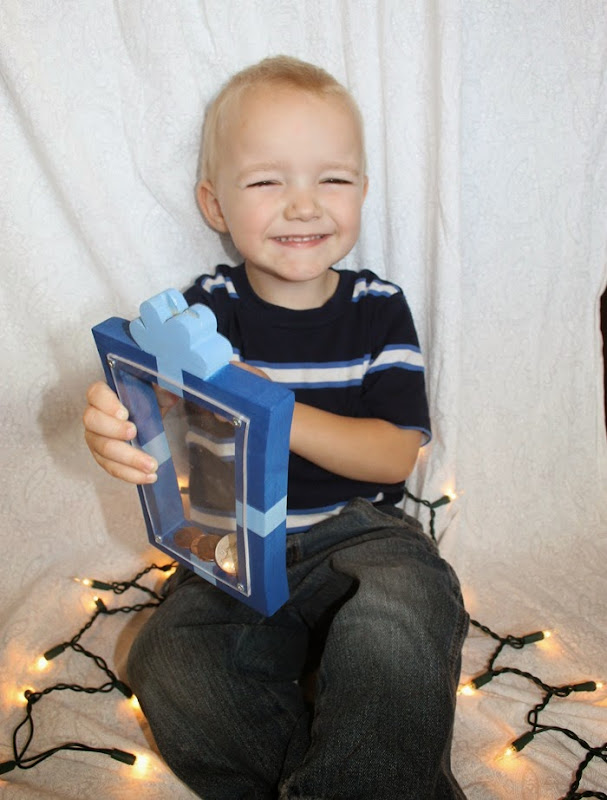
I recently made some super cute ‘Christmas Present’ banks for my boys, and they (ages 4.5 & 2.5) are about to get their first lesson in saving & spending wisely!
The idea behind it is to earn money (by doing work around the house!) and save it in their present bank until it’s time to buy Christmas Presents for each other. They do have piggy banks, which are collecting quite the savings, but those are not to be opened or touched until we, their parents, deem it necessary! But these Christmas present banks are reserved for the sole purpose of buying presents for Christmas!
I know my boys are still very young, but when it comes down to it, money is a big deal (unfortunately). They love finding money & holding it. They love being able to buy candy in a candy machine. But more importantly, there are many lessons to be learned with money; instant gratification or long-term happiness, debt or savings, etc. I don’t think there is a “too young” when it comes to learning how to treat money?
Not only money (and saving) but the act of giving on Christmas. I hope these boys, with the money they earn and save over the next while, will find joy in the act of giving. No, it doesn’t have to be store bought, but there is a lot to be said about a little child that can give up hard earned, saved money in order to give a gift, especially to their sibling [trust me, I have 7 siblings]!
I hope that giving gifts on Christmas (bought, homemade or as simple and kind as a hug) will become something they look forward to every year, and all the time for that matter.
And with that, here is my ‘Christmas Present’ coin bank HOW-TO --->
{what you need}
- wood (I used pine and my dimensions are approximately 5 1/2”W x 7 3/4”H x 3/4”D –and- 7 1/2”W x 6”H x 3/4”D)
- scroll saw
- sander
- drill (handheld or press)
- plexiglass (picture frame quality)
- sharpie
- Dremel (or you can use a handheld drill)
- spray paint (colors you want & clear coat)
- masking tape
- tiny little screws (smallest I could find at the hardware store)
- screwdriver
Okay, lets get started! [Beware: lots of cell phone pictures, taken at night…didn’t want to get my good camera full of saw dust!]
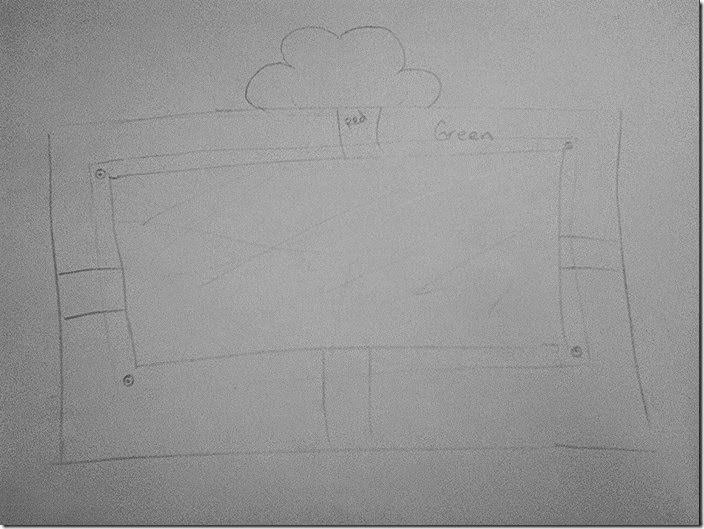
First I drew out a couple sketches of what I wanted the banks to look like. Not the best quality picture, but you get the idea (if you can see the lines!). I drew it the exact size I wanted it & then measured about an inch for the width of the bank walls.
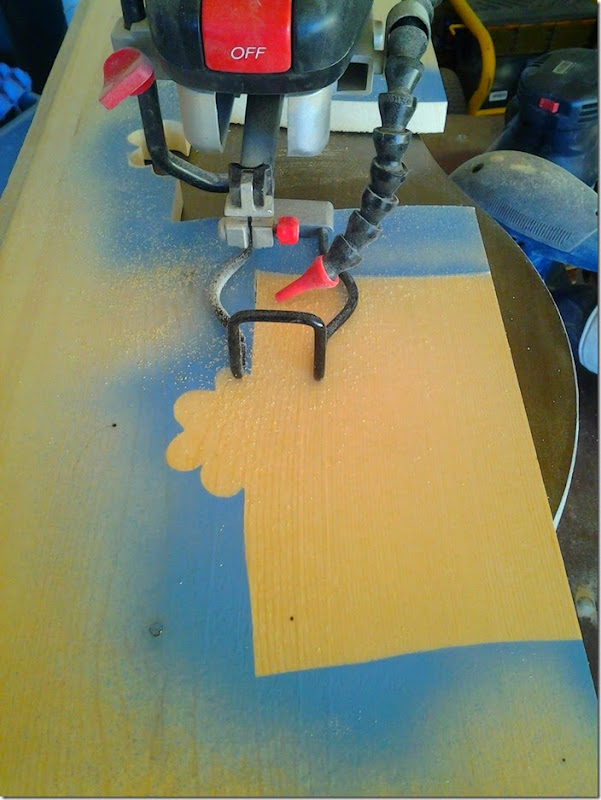
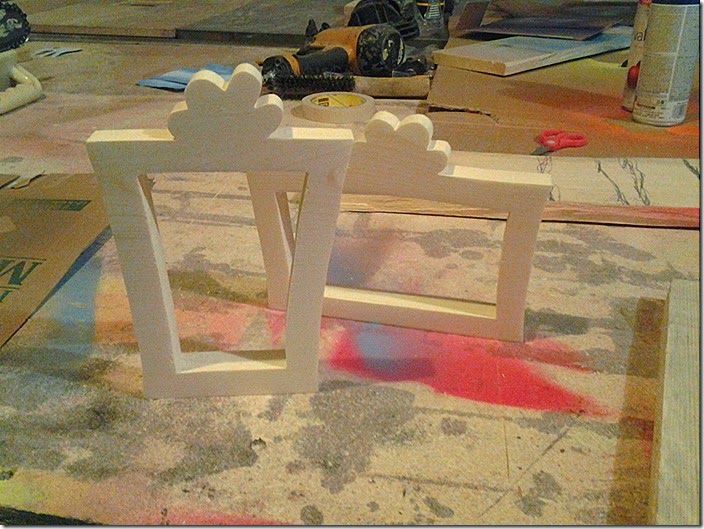
I cut out those sketches & used them as a stencil for the actual bank. I like to tape it down on the wood & use a little bit of spray paint to make a quick outline. You could always just trace it thought. Take it to the scroll saw & get to cutting! Make sure the bottom edge of the bank is flat – as in, it is level and can sit on the counter.
To cut out the inside of the bank, I drilled a hole (using the drill press, but you could use a handheld drill), then I had to take out the scroll saw blade, put it through the hole I just made & tighten it back up. Then I was able to cut out the inside block.
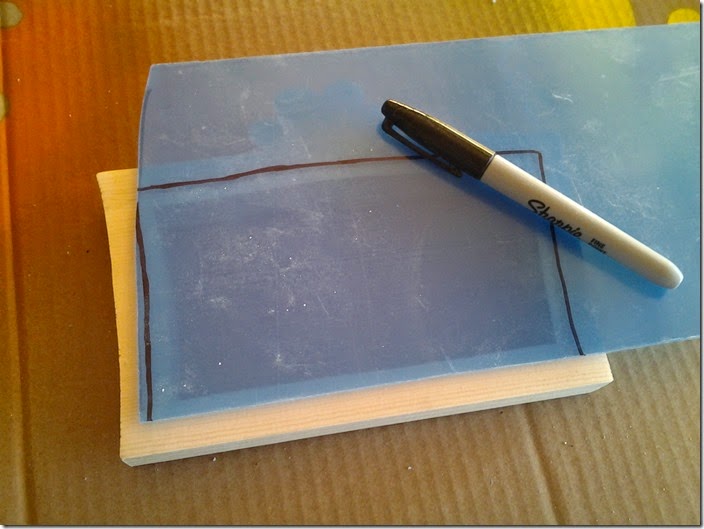
Next came the plexiglass cutting. I laid a piece of plexiglass on the cut bank and made sure it was about 1/4” bigger than the inside of the bank walls. It was just a hand drawn line, and I made one for each side of the bank. Next, I took them to the scroll saw & cut them out too.
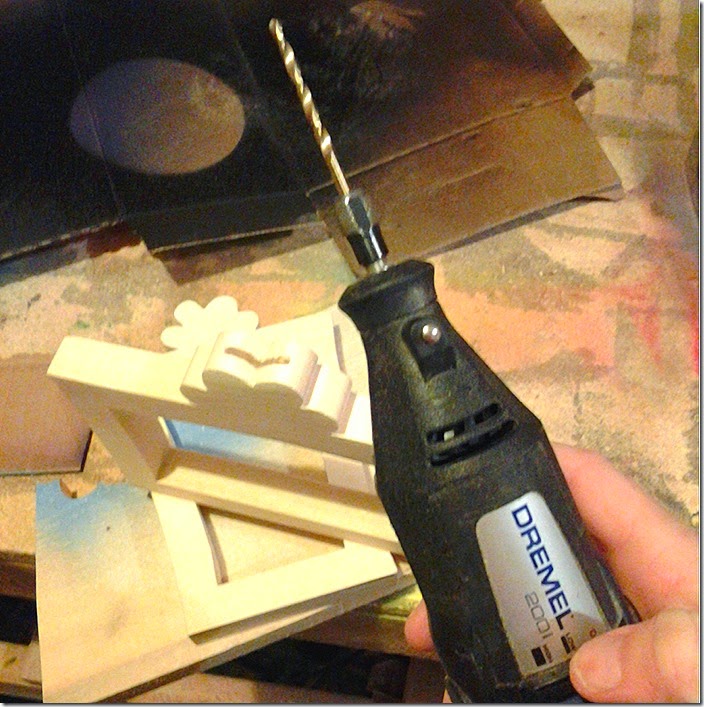
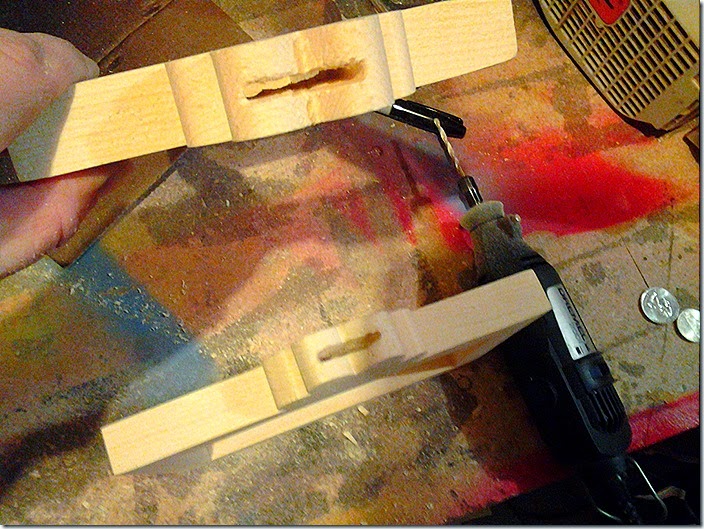
Then came the coin slot. I REALLY wanted a coin slot at the top, like a regular bank, but because of the height of the bow on top of the present, it made for a very difficult process. I’ll have to collaborate with Grant (my husband) to figure out a better way to do this part, but I’m not really sure there is an easier way to do it due to the width of the wood I was drilling through. What I did was, using the drill press, drilled multiple holes (slightly thicker than the width of a nickel and just over the length of a quarter). Even then, I was only able to get through about 3/4 of the wood.
The rest of the process was tackled with the Dremel (using the same drill bit). [**By the way, Back Friday is coming up and that is when we got this Dremel, years ago. Totally worth it!!]. I did some drilling from the bottom of the slot (or where I guessed the bottom would be). It doesn’t look pretty from the bottom, but the coin slot works!
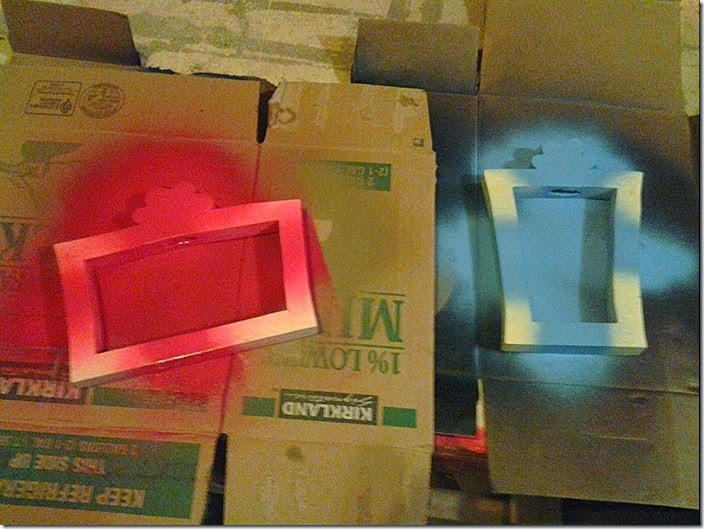
After that drilling endeavor the painting began. I always use Rustoleum 2x coverage spray paint (primer included). I painted the ‘ribbon’ parts first, on both sides of the presents (drying in between). These colors are Apple Red & Sky Blue.
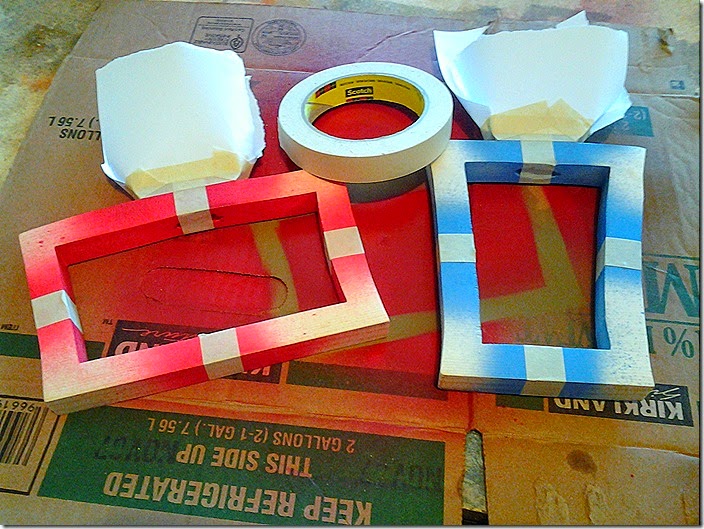
Once dry (24 hours-ish later) I used masking tape to take when I wanted the “ribbon” to stay & covered the bows. Then painted the rest of the presents in the other colors – Meadow Green & Deep Blue (Rustoleum).
Almost done!!
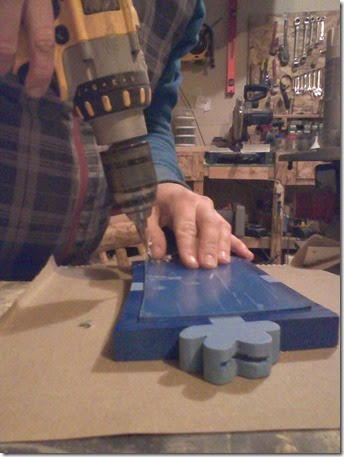
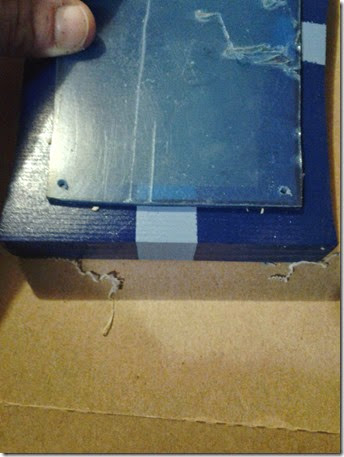
With the plexiglass I cut previously, I put them on the present & drilled holes through, and barely into the wood, for the tiny little screws.
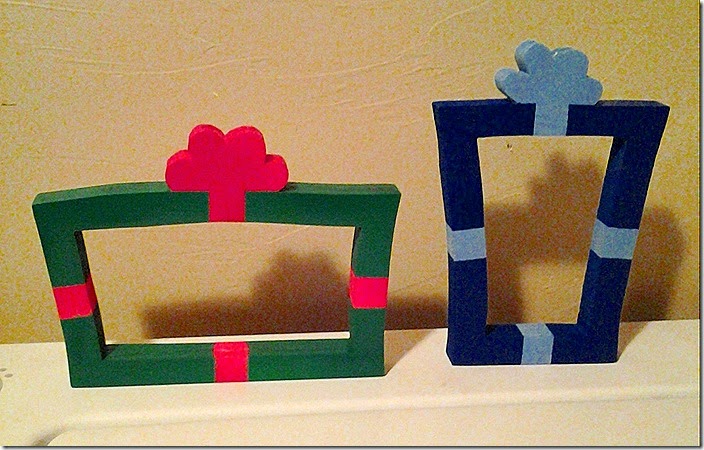
Screw on the plexiglass & DONE!
These boys are beyond excited about their new present banks! Now it’s time to start earning money!!! Which is also great, they are so much more helpful around the house now ;)


