November 30, 2015

J is for Jack and the Beanstalk | Preschool

J is for Jack and the Beanstalk.

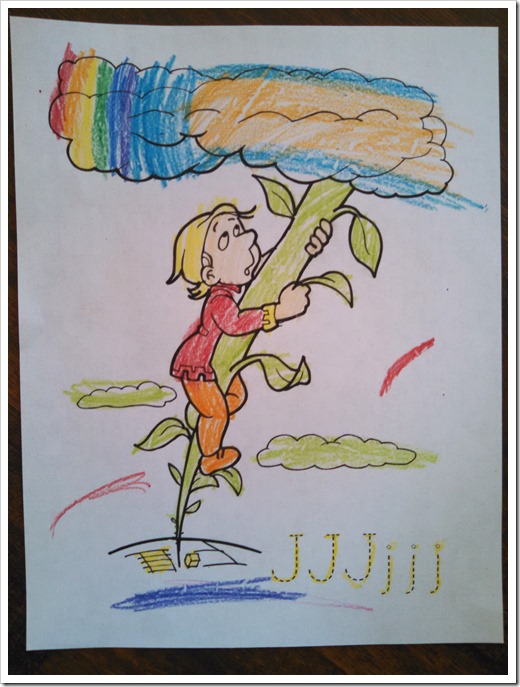
As a gathering activity (if you do preschool with more than one child) we started with this coloring page of Jack climbing the beanstalk. I created this page, with a clipart from google and inserted the ‘J J J j j j’ text (in Print Clearly dashed font).

IMG_20151130_114413_881  [you can download it HERE]  

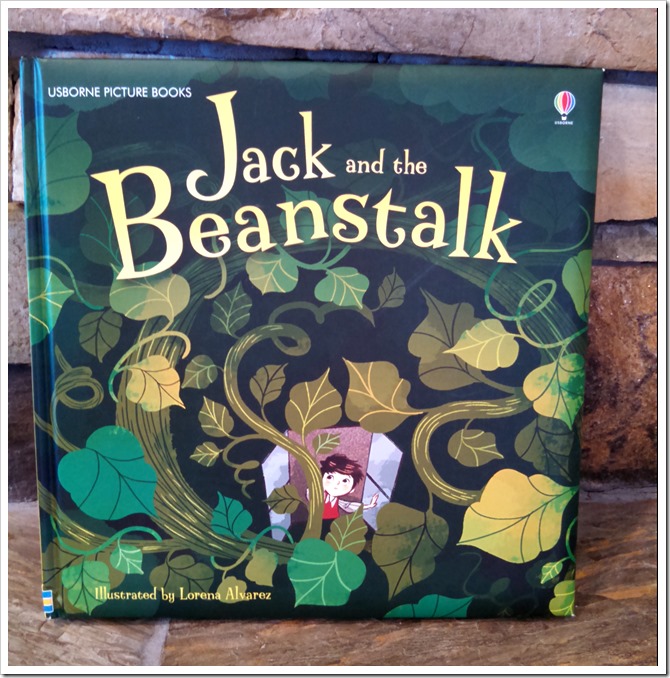
Then I read this Jack and the Beanstalk book by Usborne. My kids really like this one. Before I read it, I made them point out the the J on the cover and title page. 

IMG_20151130_114831_628

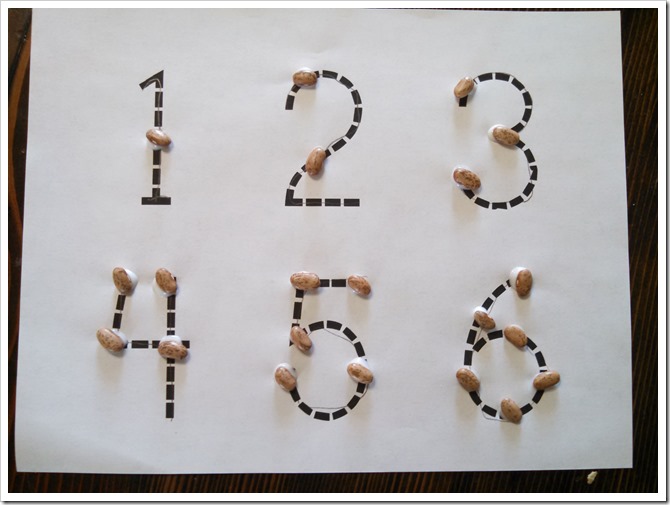
After reading the story, we worked on counting with beans. I printed off THIS simple tracing number page, and they traced the number and said which number it was. Then I put glue dots on the numbers and they counted them as they added the right amount of beans to each number.

IMG_20151130_114730_769[download this page HERE]

When we were done counting, we went back to the Jack and the Beanstalk book. I found this fun printable (from Learn, Create, Love) that I cut out and put on popsicle sticks. We then went through the story again and the kids picked up the corresponding prop in the story. It was fun to see them try to figure out which ones they needed to put down and which ones they needed to pick up. Re-telling the story also helped them remember it a little better.

IMG_20151130_115012_108

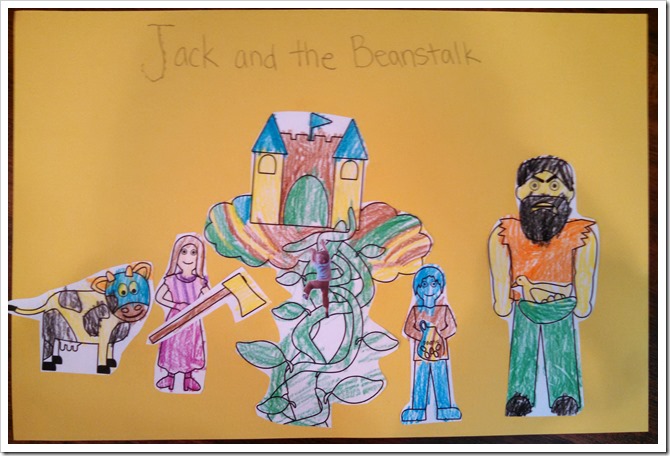
Our next project used the same printable as above, but this time we used the coloring pages. They colored the pictures, and I helped cut them out. Then we glued them on a big piece of construction paper. They matched the following: the mom with the cow, the old man with the beans, and the giant with the hen. I drew a J that they traced and spelled out the rest of ‘ack and the Beanstalk’

IMG_20151130_114341_365

They didn’t color the ‘Jack’ picture, but instead I took a picture of them pretending to climb. Then I used Power Point to remove the background so that it was just a picture of them. That part isn’t necessary, because you are going to cut out around them anyway. You can either print it on regular paper or sticker paper. Then they can stick themselves on the beanstalk, like they are Jack climbing it!

IMG_20151130_111556_751IMG_20151130_133605_809

Our last project for this preschool day was finding ‘magic beans’ in a bin of rice/wheat. I love making them use these plastic tweezers to pinch the beans to pick them up when they find them.

IMG_20151130_114555_609

To make the ‘magic beans’ I just spray painted dry beans with gold spray paint. I actually did this about 30 minutes before preschool started. Because they are so small, they dry really fast. Spray on one side, let dry for 15-20 minutes, then flip over and spray the other side. Don’t over spray them, or they will be sticky and wont dry fast!

IMG_20151130_120944_638

J is for Jack and the Beanstalk

November 28, 2015

Arrow of Light ceremony | Cub Scouts

I’ve been in Cub Scouts for a little over 3 years now, but for the majority of that time I was a Wolf den leader. I’m recently moved up in rank and am now the Cub Master of our pack. For my third pack meeting, I was in charge of putting together an Arrow of Light ceremony and I decided to do things a little differently!
I read through tons and tons and tons of ideas on the BSA website, pinterest and blogs, on things that had been done previously for Arrow of Light ceremonies. I wasn’t really inspired to do any of them, but I did take bits and pieces to create THIS ceremony.
Having been a leader of the 8 year old cub scouts (Wolves) for so long, I know that the boys really just want to have fun at these meetings, and so do I. I could have had a ceremony with a bunch of adults talking about how important scouting is, etc, etc (which of course, it is important!). But instead I tried to make it a little more interactive, with the cub scouts themselves helping and incorporating a game!
PREPARATIONS:
1. Light jars & “plaques”
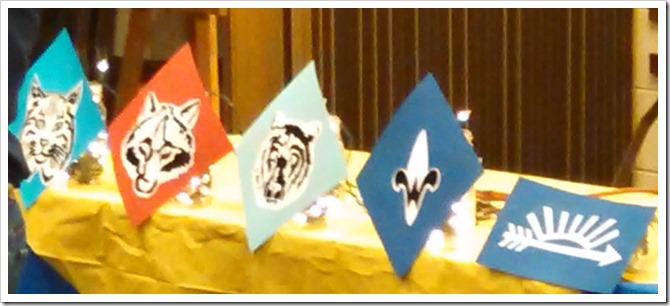
  • I used my Silhouette machine to create the rank cut out “plaques”. I say quote-un-quote plaques because these were only cardstock cut-outs. I had originally planned on cutting them out of wood and make them fancy looking plaques, but decided I didn’t have enough time to get them all cut with my Scroll Saw, so I opted for simple cardstock “plaques”. You can find the Silhouette file I created HERE.
  • I found the rank images (bobcat, wolf, bear, Webelos, and arrow of light), imported them into the Silhouette program, traced them and then cut the outline of the image out of cardstock (save both the cutout and the whole paper), and also cut the traced lines out of vinyl.
  • I sandwiched the cardstock and a piece of copy paper together, then put the vinyl cut-out on the white paper.
  • (sounds VERY confusing…and of course I didn’t take ANY pictures. But it really was simple!!)
  • I then taped those “plaques” to a mason jar filled with a strand of clear mini Christmas lights – when plugged in (in a darker room), the light shines through the copy paper parts.
This is a horrible zoomed in cell phone picture, but you can KIND OF get an idea!!IMG_20151117_192729_244
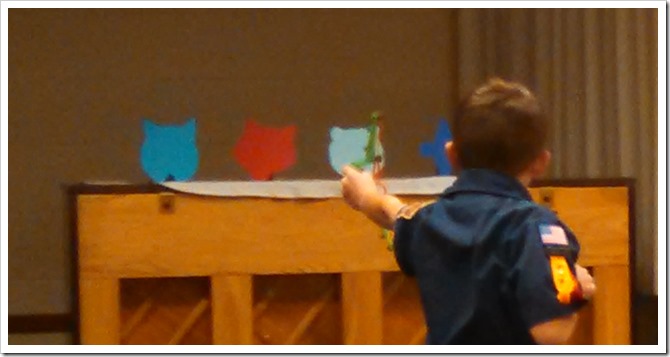
2. Rank Targets & bow and arrows
  • This was actually VERY easy. I just used the cutouts (from above) and taped a folded paper piece of cardstock on the back to make them stand up.
  • Buy a fun bow and arrow set, like THIS ONE. Make sure you have 4 arrows!
Again, a horrible picture, but this is what they are used for during the ceremony. IMG_20151117_192741_115
3. Fletching toothpicks for the refreshments
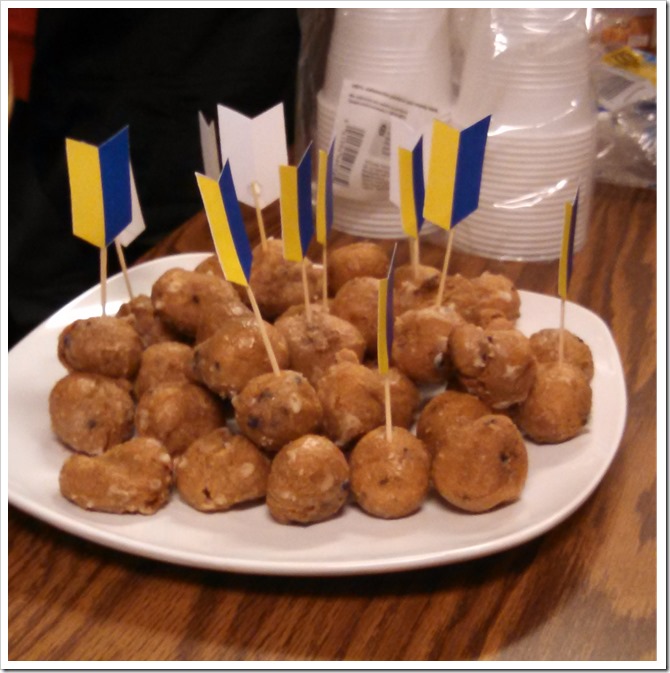
  • I printed and cut THIS on my silhouette to make the fletching for the mini arrows (glued to toothpicks). These were stuck in donut holes!IMG_20151117_193607_127
CEREMONY:   --->   HERE is the script I created and used for the ceremony
We only had one boy receiving his Arrow of Light, so the spotlight was on him. After handing out everyone else’s awards first, we went into the ceremony for the Arrow of Light portion. This is the highest rank earned as a cub scout, so it’s important to make it a big deal!
Before the meeting started, I passed out 5 different parts to cubs scouts, in different ranks. There was a Bobcat, Wolf, Bear, Webelos, and Arrow of Light part and I tried to get boys that were in or close to those dens. I also gave them an arrow, except the cub scout with the ‘Arrow of Light’ part, he got the bow.
Each boy read a little bit about what their rank was and then gave the cub scout receiving his Arrow of Light a task to complete before we moved on to the next rank’s part. The tasks were simple things that he should be able to do, as he learned it along his cub scout trail.
Here is an example from the script, that the Wolf scout read:
image
For that task, he had to fold the flag of the United States of America. This is a requirement in the old book, and in the new book, so the boys should learn this no matter what! We had to give him a little help, as it has been a couple years since he first learned it!! After he folded it, he was awarded an arrow and I plugged in the lights to the Wolf plaque. Then the boy with the Bear part read his script. Etc.
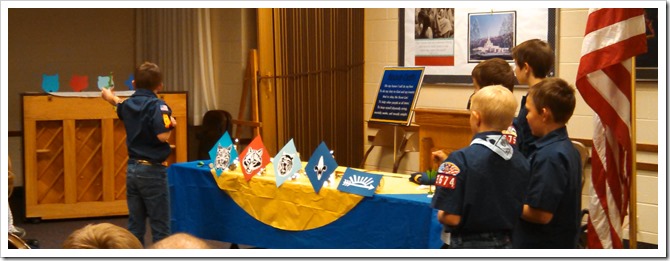
The really fun part was after he finished all the tasks for each rank and the ‘Arrow of Light’ part was read. His final task was to take the bow & use the arrows he earned to aim at the rank targets and try to hit them. It took him a little while to get warmed up, and he kept taking steps closer, but all the boys had so much fun watching him shoot the arrows. I think it’s something that stood out to them, and hopefully this helps encourage their desire to get to this point in cub scouting! If nothing else, it was entertaining for all of us!
IMG_20151117_192741_115
Once he hit all the targets down, the boys that helped read parts sat back down and I had the honoree stay in the front with me. His mother came up too and I then presented him with his Arrow of Light awards – the patch, parent pin, and certificate (the certificate isn’t mandatory, it’s up to you as a cub master if it’s something you want to present or not).
Then I gave some closing remarks and thanked all the cub scouts for working so hard to get to where they’ve gotten so far & encouraged them to keep working hard. We had a closing prayer and then they dug in to the refreshments.
IMG_20151117_193603_692
Again, hopefully this inspired the other boys to set some goals to get to this point in cub scouts. We have had a lot of changes in our pack, not to mention the book changes in June. But in the past 3 years, we’ve gone through quite a few cub masters. I’m not sure many of the boys even new this award existed. Now they do! And I’m so excited for them to keep earning belt loops, pins, and patches to get to this point!!


READER PICTURES:
--->If you've done this Arrow of Light ceremony, or used anything that I shared...please share it with me! I'd love to see how it turned out!!

[shared 6/22/2016]
November 24, 2015

Chocolate Pretzel Turkey bags

turkey

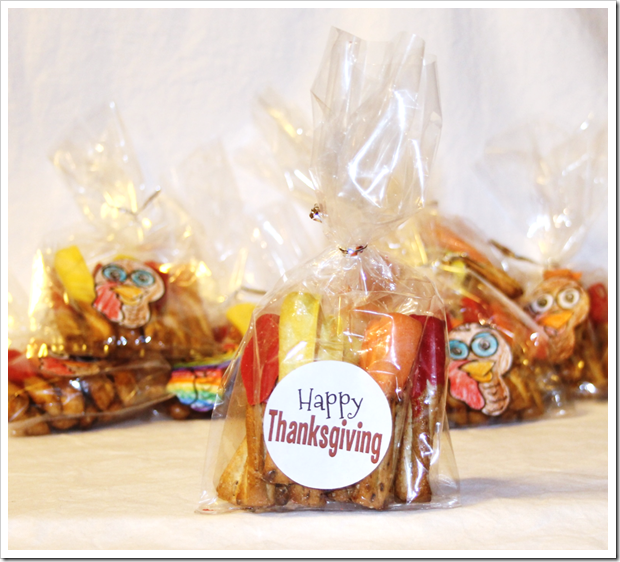
This was a fun project to do with my boys. We made these pretzel turkeys for their teachers (school and church). I was inspired by THESE pretzel turkey cups that my sister made. Since were were giving these away, I thought a bag would be better than a cup!

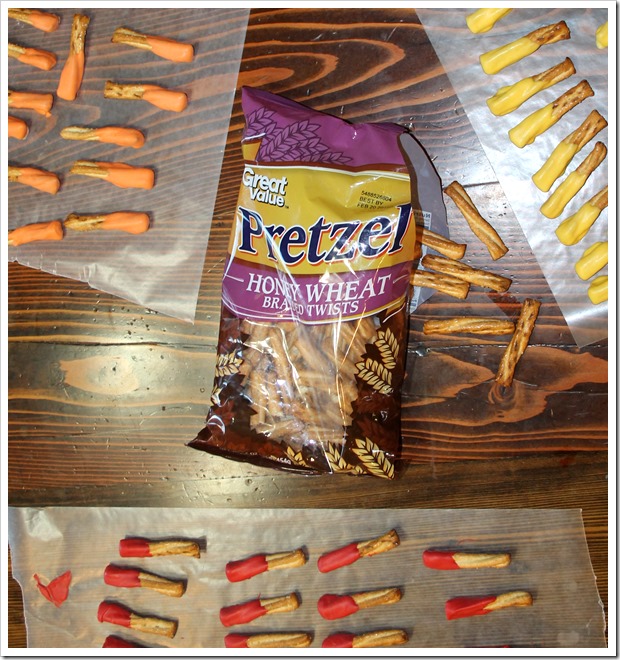
First step, dip the pretzels in chocolate. I used the Honey Wheat Braided Twists (instead of the pretzel rods), if only because I like the taste of these pretzels better ;)

IMG_4241

I used red, orange, and yellow Wilton chocolate melts. I gave each boy a small cup with melted chocolate and showed them how to dip them. They also had a few lectures on ‘not licking the chocolate or their fingers until they were done’ and ‘only eat the broken ones’. Man they had a hard time with those rules!!

IMG_4245

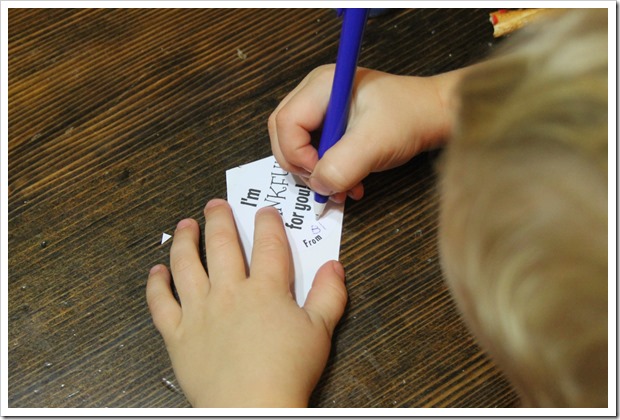
When they were done with the pretzels, and while the chocolate was drying, we worked on the bags. I printed out a coloring picture of a turkey head on sticker paper, and cut them out with my Silhouette. I also printed out a simple “I’m thankful for you” sticker that they could write their name on. So they worked on coloring those.

IMG_4247      IMG_4255

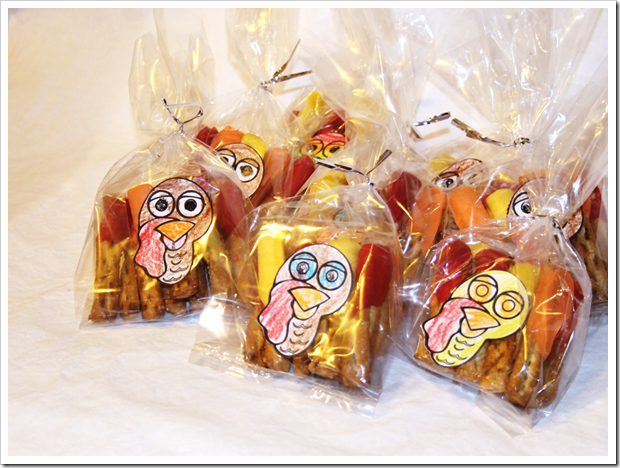
Stick the head sticker to one side of the clear cellophane bags and the “I’m thankful for you” (or “Happy Thanksgiving”) sticker on the other side, and fill with different colored “feathers” (the chocolate dipped pretzels), and tie it up.

Picture1

The best part of this project was watching the boys hand them to their teachers! So stinkin adorable!!

Picture1

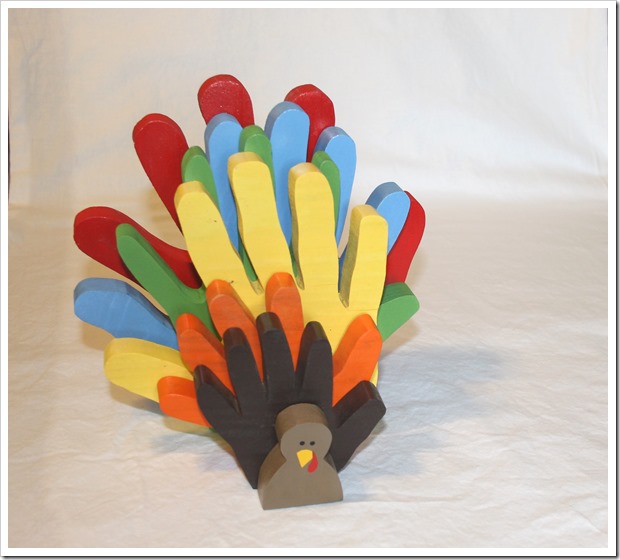
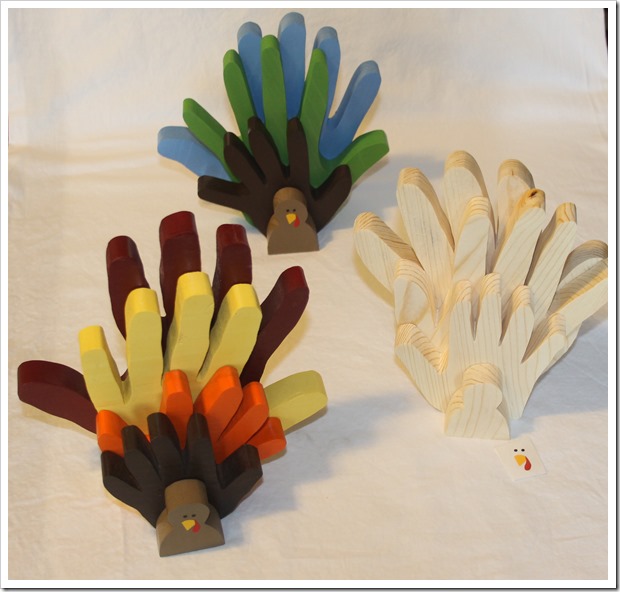
More Family Hand Turkey blocks!

So many fun color schemes!!

[family of 6]
  IMG_4239 

[Families of 3 & 4, and a DIY set!]
 IMG_4238

Find these Family Hand Turkeys available at my Remembories shop.

HAPPY THANKSGIVING!!

November 2, 2015

Custom Gate | ODH

The progress on our ODH (operation dream house) project is slow going, but there is progress. This is our Grant’s latest edition to our property.

IMG_20151029_150126_964

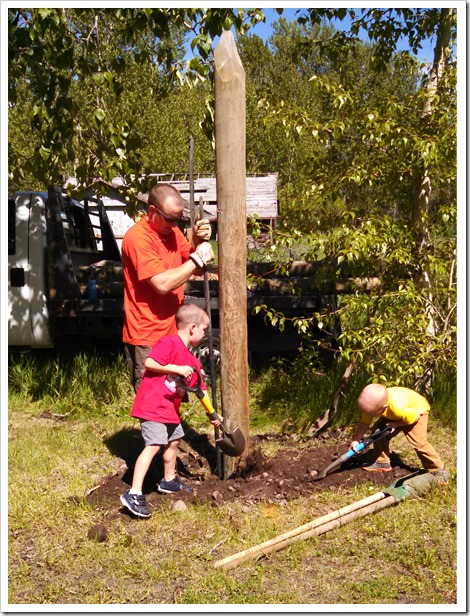
Grant has been diligent about getting the land fenced to keep trespassers off (it was pretty open range land before we had it, and now everyone thinks they can still do whatever they want on it). Any chance he gets, he recruits our boys to help him! My brothers have even had the opportunity to help with the fencing project when they’ve come to visit!

IMG_20150525_153908_216

There was a lot of post setting & fence pulling, but it’s ALMOST done! This is the big post they set to hang the custom gate that Grant made. Little B is such an awesome worker (baby H and I just sat and watched ;)

IMG_20151014_105442_178

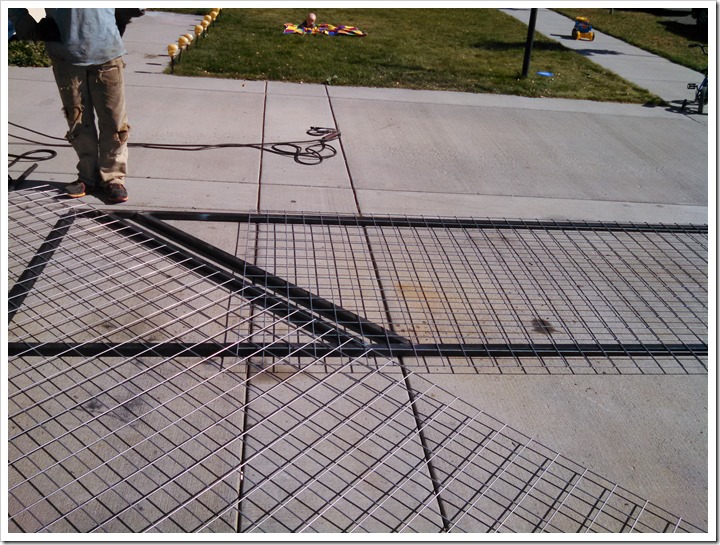
And now the gate. I’m ever impressed with Grant’s skills! We make a pretty sweet team – I design, he creates (and usually it’s EXACTY like I designed it). We had been talking about gates and what we wanted to do, and finally after a long discussion & a few sketches, this is what we decided on.

IMG_20151031_114918_262

He ordered the steel that night and had it started the next day when it was delivered. He also ran to the local ranch supply store and picked up some fencing.

Order list:

  • 2- 24’ pieces of 1.5” square tube, 14 gauge = $80-90
  • 1- 16’ utility panel fencing = $50
IMG_20151014_131747_467

He let me rearrange the fencing, switching it back and forth between diagonal and straight, and ended up deciding on the initial plan. It’s always good to consider the options ;) (his patience with me and my designs is amazing!). Once the layout was finalized, he went back to work and made these amazing gates in no time!

Tools used:

  • grinder
  • cut off saw 
  • welder

IMG_20151029_150116_801

We still need to paint them (black) and I’m thinking the smaller gate needs to be switched around so that the diagonal triangle part is mirror image to the big gate (so, put it at the bottom left instead of the top right). Once we actually build a house, we’ll change it from a swinging gate to a raise-and-lower gate. It’s gonna be fancy ;)

October 30, 2015

Halloween Bowling – pinterest success!

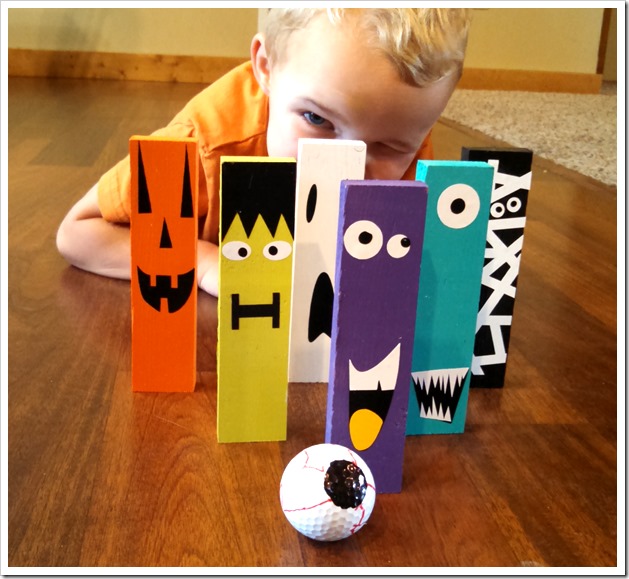
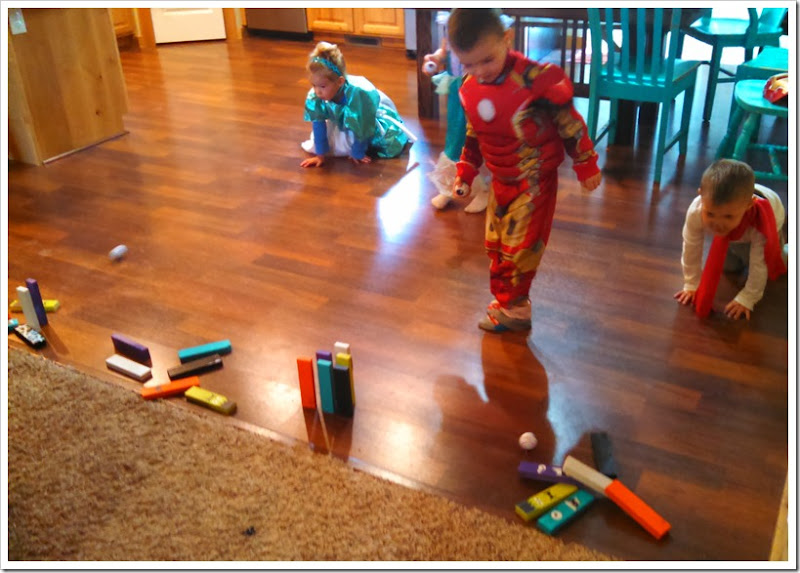
Tis the season for Halloween Bowling! I’m a cub master and a preschool teacher & put together these bowling sets for both groups to make this past week (at pack meeting and at a preschool Halloween party). They were a huge success, and so stinkin’ cute!!

IMG_20151029_120602_450

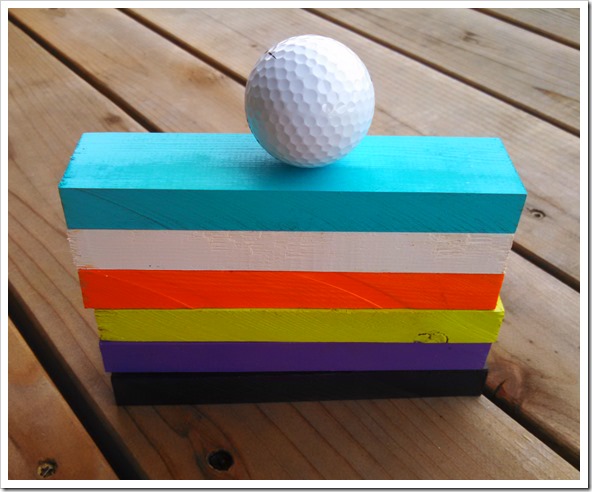
This project was a pinterest find, and I modified it a bit since I was making so many (12 sets) and had different ages (3 –10 yrs). The original version used 4 x 9” blocks, construction paper, googly eyes, and a bouncy ball. I made 1.5 x 6” blocks with vinyl stickers, and used a golf ball!

IMG_20151030_115029_556

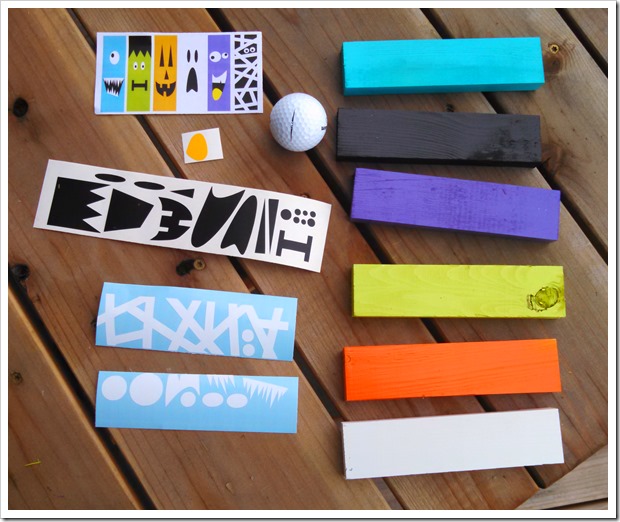
What you need to make my modified version:

IMG_20151030_114925_418

Paint each board a different color, and let them dry. While those are drying, cut the vinyl stickers. I TOTALLY recommend a Silhouette machine, it makes projects like this so SO simple. All you have to do is open the template, load the vinyl & cut!

Once the boards are dry, and the vinyl is cut, it’s just a matter of applying the stickers. I showed the 3 year olds what it was suppose to look like (on the template), then they stuck them on how they wanted it to look. For the cub scouts, I just handed it to them and said, “put them together!”  The eyeball golf balls were simple too – use the sharpies to color in a black circle, then draw red squiggly lines all over it!

Then set it up and play!!

IMG_20151029_115148_756 

HAPPY HALLOWEEN!!

March 30, 2015

Lucky Break – custom logo sign

IMG_3721

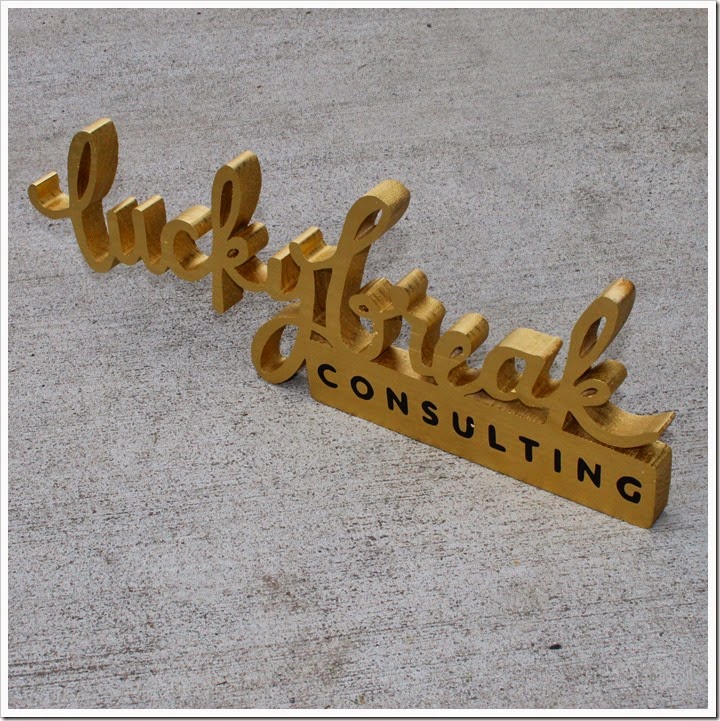
This is a recently custom ordered sign from my Remembories etsy shop. The original logo is show on the top right of the photo below, and the custom handmade sign is pictured. It is made from home-milled, beetle-kill pine lumber (from Montana), and is about 1” x 6.25” x 18”. It’s painted in metallic gold & has black vinyl lettering “consulting”.

image

For more hand crafted and custom order signs, visit my Remembories shop.

March 19, 2015

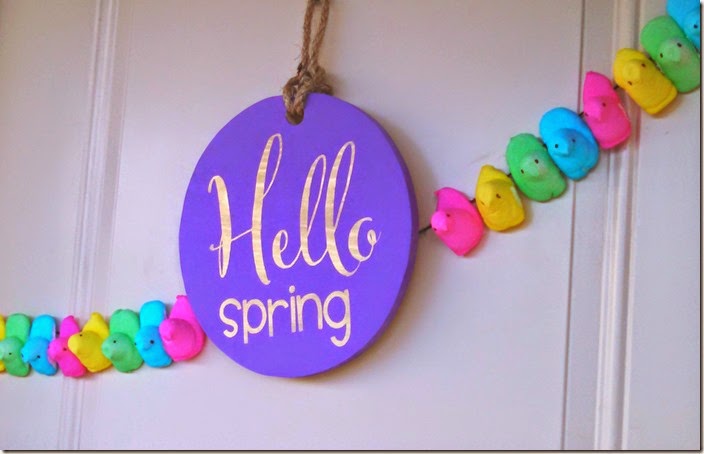
‘Hello Spring’ – door decor [PEEPS® inspired]

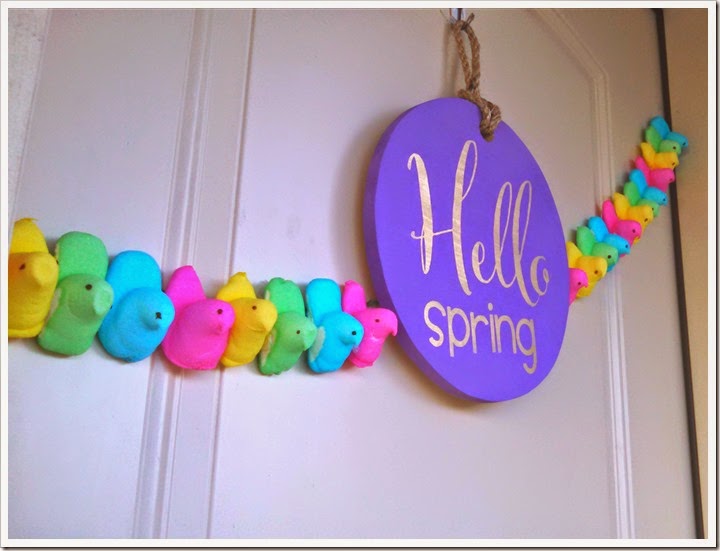
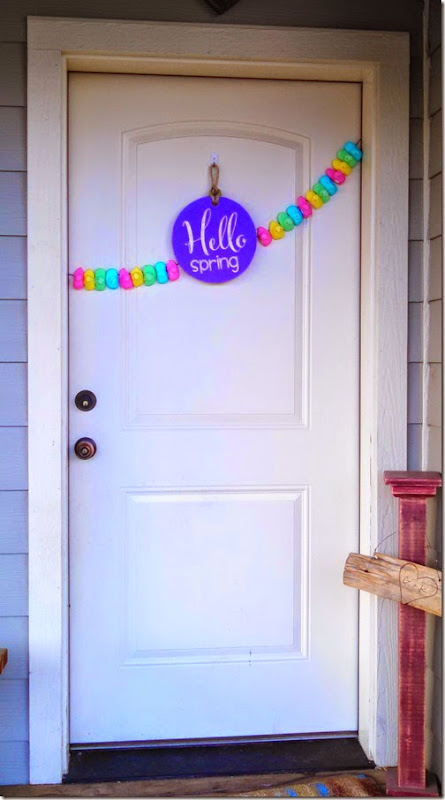
It’s finally, officially SPRING!! After throwing a few ideas around in my head for a spring inspired front door, I finally decided to go with a fun & colorful ‘Hello Spring’ door!! [inspired by PEEPS®]

IMG_20150319_185044_304

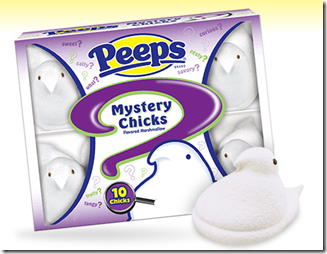
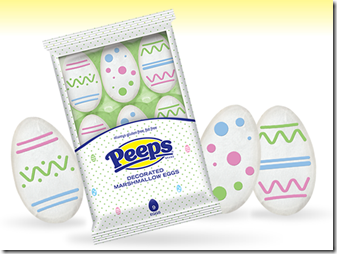
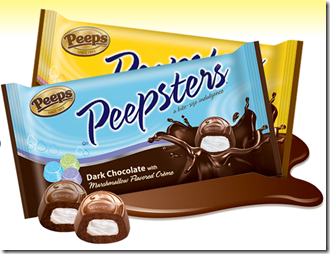
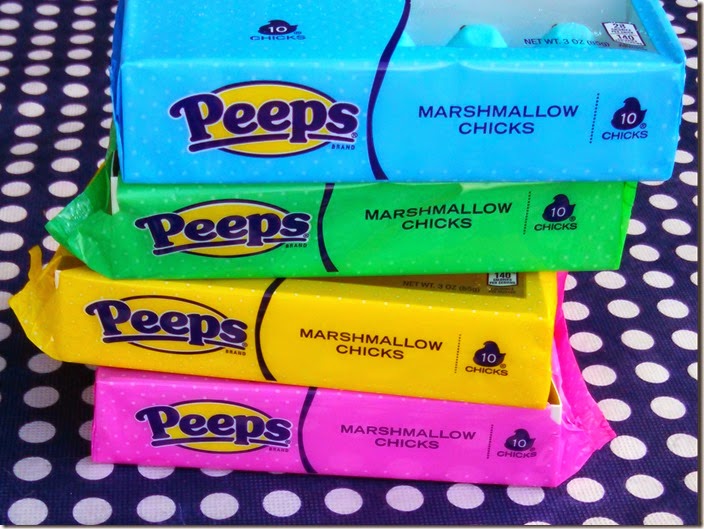
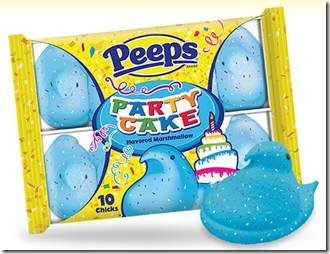
I was contacted by PEEPS® and offered a chance to try out and use their products for my crafting ventures this spring. PEEPS® has a bunch of new flavors & designs out this spring. Here are a few that I’m intrigued by, but you can find all of their new spring/Easter products HERE.

image  image image image
[*I’ve tried the mystery chicks & the party cake chicks, both of which they sent me. Party cake takes the cake ;)
But the mystery chicks were fun…we still have no idea what that flavor is!]

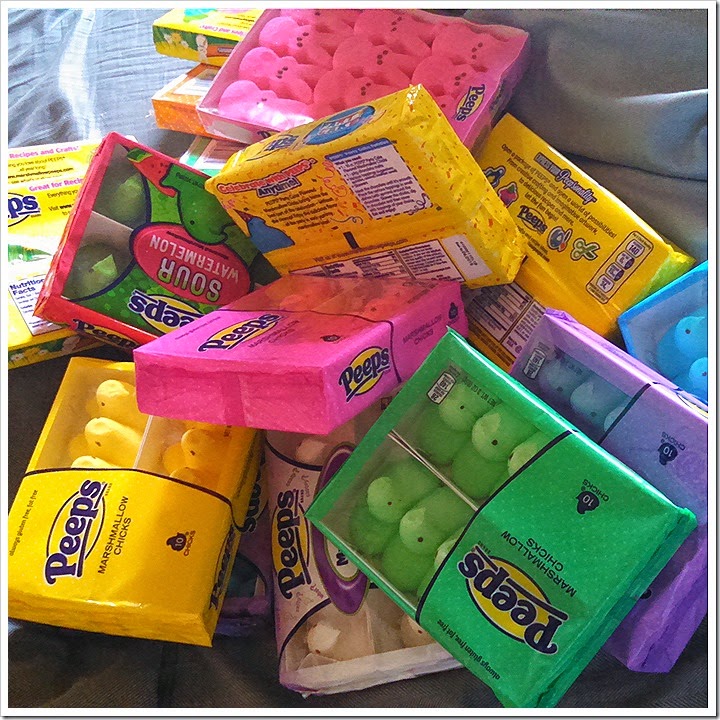
Like I said, PEEPS® contacted me, asked if I would put my creativity to work and come up with something “crafty” using PEEPS® this spring. They were ever so kind and sent me a huge box fun of the marshmallowy treats.

IMG_20150311_153044_871

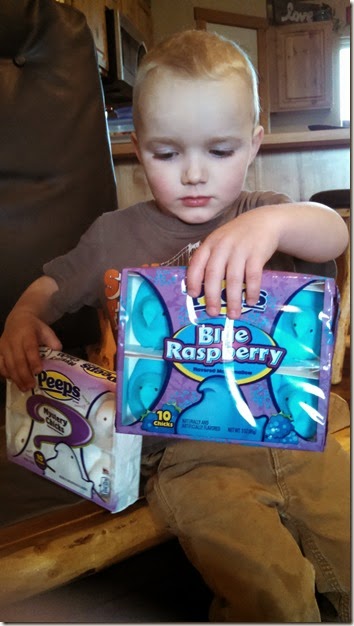
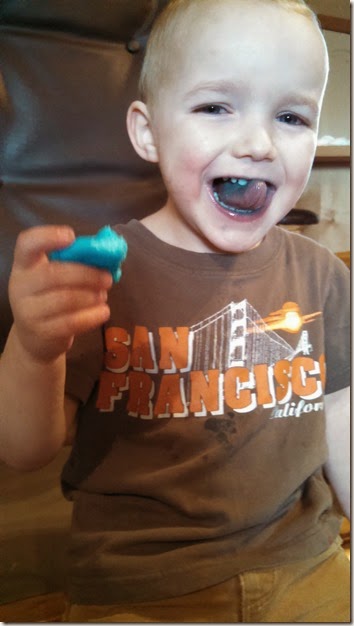
I’ll admit, we had to do some taste testing first!! My boys couldn’t decide between the Blue Raspberry and the mystery chicks, so we tried both of those first. I think the Blue Raspberry was a winner with them! (watch out…turns the whole mouth blue!!).

 IMG_20150311_165148_329  IMG_20150311_165626_893

Then I got to work with my front door decor. I started with the ‘Hello Spring’ sign. It is 10”, and painted purple with metallic gold lettering.

image

Next came the PEEPS® part of the project, and I used their pink, yellow, green & blue chicks for this creation.

IMG_20150319_190159_450

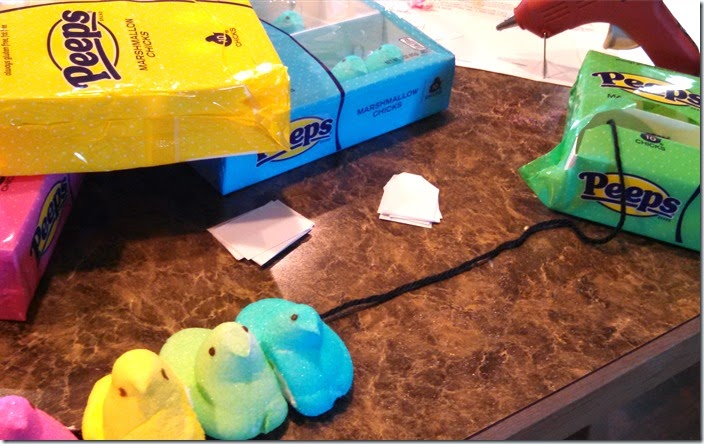
I pulled out the hot glue gun, along with some yarn and cardstock. I cut little pieces of cardstock that the yarn & the marshmallow treat were glued to.

IMG_20150319_181959_606

And on to the door it went. A super easy, yet fun & colorful spring PEEPS® banner!! It was the perfect touch to my ‘Hello Spring’ door!

IMG_20150319_184840_811IMG_20150319_185055_130

Now I’m on to more projects with my PEEPS®! You can find more creative inspiration for using PEEPS® on their website, HERE.

**Disclosure: The PEEPS ® product, information and gift have been provided
by Just Born Quality Confections. All thoughts & opinions are my own.