January 31, 2014

A heart attacked yard {Valentine Peeps® inspired}

IMG_4880The other day I received a fun box full of a variety of Valentine Peeps®.Although this isn’t my first choice in candy, I’m always intrigued when I see Peeps because their products always look so fun and fluffy and tasty. My boys were extremely excited to see a box full of candy, no matter the kind. This is what Peeps & Company® sent us:

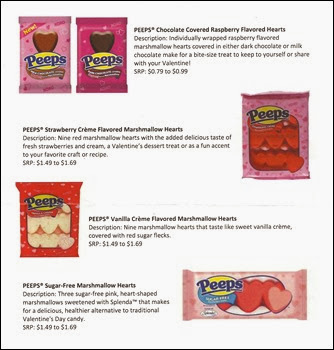
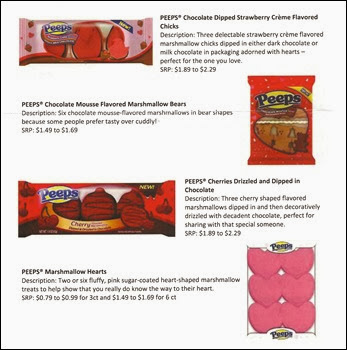
20140127_152049Peeps chocolate dipped strawberry crème flavored chicks // Peeps chocolate mousse flavored marshmallow bears // Peeps marshmallow hearts // Peeps chocolate covered raspberry flavored hearts // Peeps strawberry crème flavored marshmallow hearts // Peeps vanilla crème flavored marshmallow hearts // Peeps sugar-free marshmallow hearts

And a few fun facts to go along them (click on the pictures to enlarge):

peeps1  peeps2

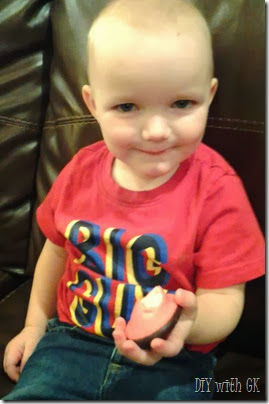
Because the boys were SO excited about the Peeps, they got to pick out one treat to eat the day we got it. They picked the chocolate dipped strawberry crème flavored chicks and they were a hit! I’ll admit, the strawberry crème flavor was good and the chocolate on the bottom was really good :

20140127_185220 

My personal favorite in the bunch was the vanilla crème hearts. I’m a pushover when it comes to vanilla (not as much with chocolate) so these won my heart. I did like the chocolate covered raspberry hearts too (dark chocolate, that’s my chocolate weakness!). My boys didn’t care what flavor or shape they got, as long as they got a treat! Grant’s favorite was the strawberry crème Peeps, heart or chick shape. All in all, they have some great flavors and the bears were a fun way to mix up the obvious & original shapes of the chicks and hearts, along with the mousse chocolate flavor.

Although these are a fun treat to eat on their own, sparingly, I wanted to do something more with them. Something that could be done for Valentines day, or any day for that matter, to say “I love you.” I looked online to see what other fun projects have been made using Valentine Peeps and these are the favorites that I found:

image1. Peeps Bouquet // 2. “I need s’more friends like you” // 3. “Owl love you forever” // 4. Peeps pops // 5. Peeps wreath //
6. “You are one of my favorite peeps” // 7. “Happy Valentines day to all my peeps” //

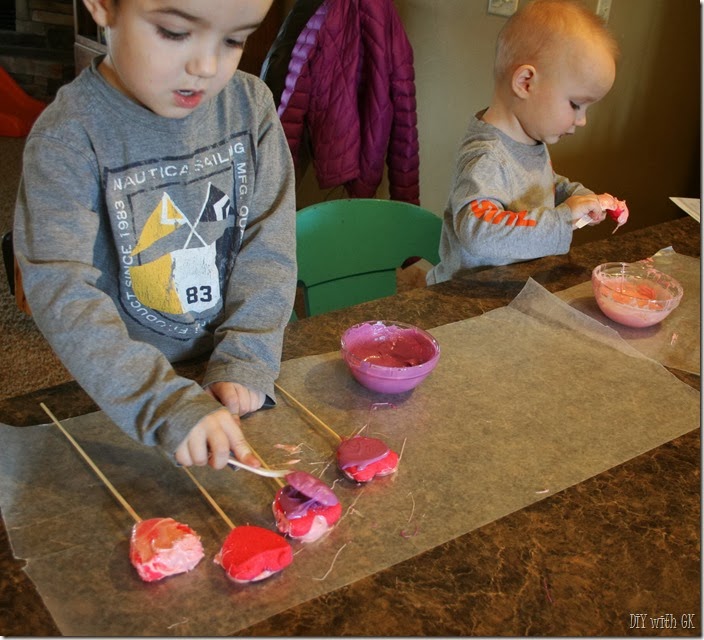
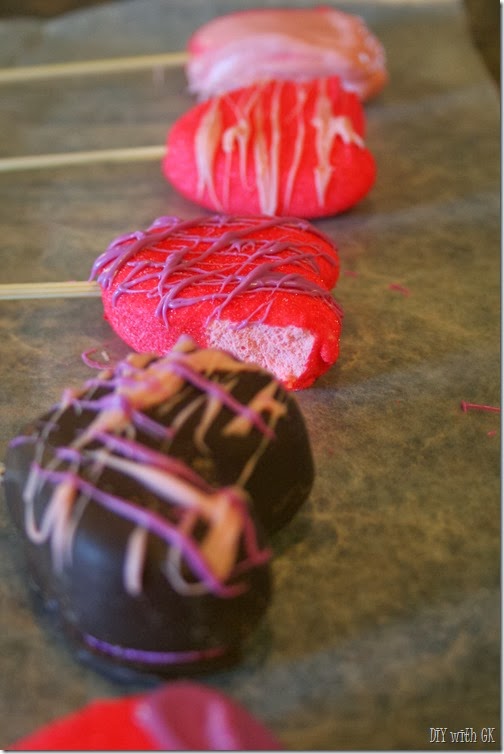
I decided to make the Peeps pops and had the boys help. Call it a Valentines preschool activity! They had a blast dipping/painting the “suckers” in the chocolate & decorating them. I forgot about the sprinkles, but they would have loved that too.

IMG_4864

My contribution to the Peeps pop stockpile. I didn’t dare try making them like I saw here & here, I wasn’t really up for a “pinterest fail”!

IMG_4860

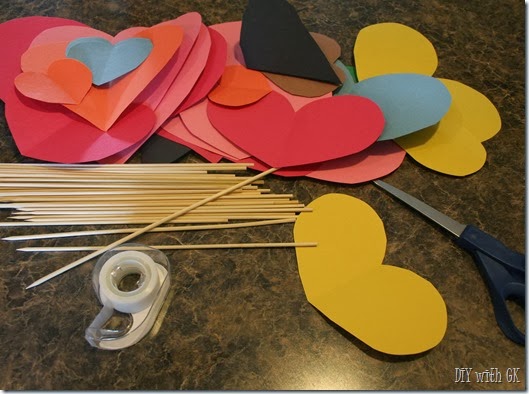
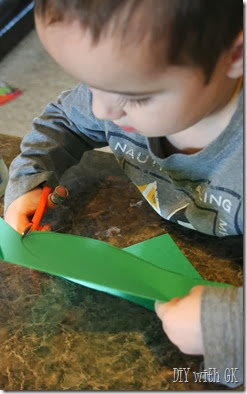
I decided to make this into a fun, sneaky service project for our boys (and had to share the sugar with other people besides my family!), so I had little G help me with another project. He cut out lots of hearts & stuck them on skewers.

IMG_4875 IMG_4870

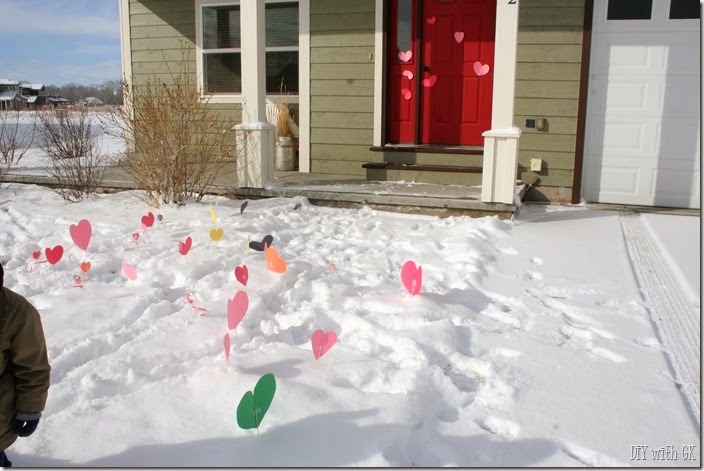
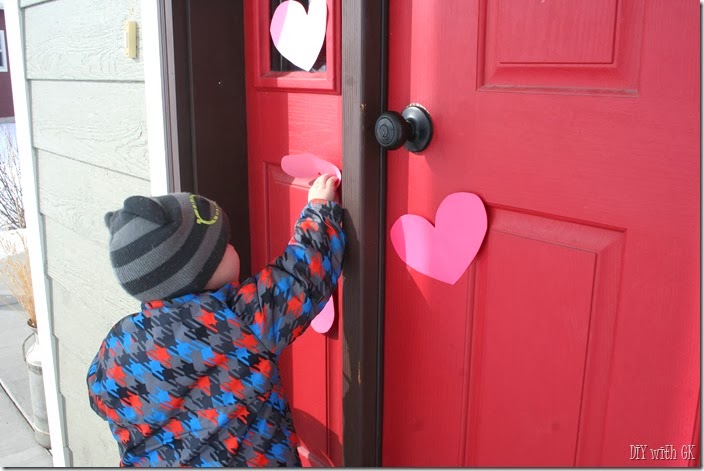
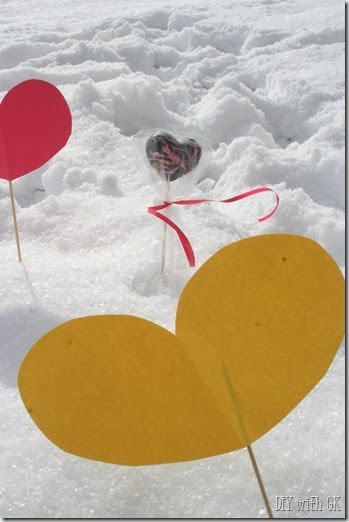
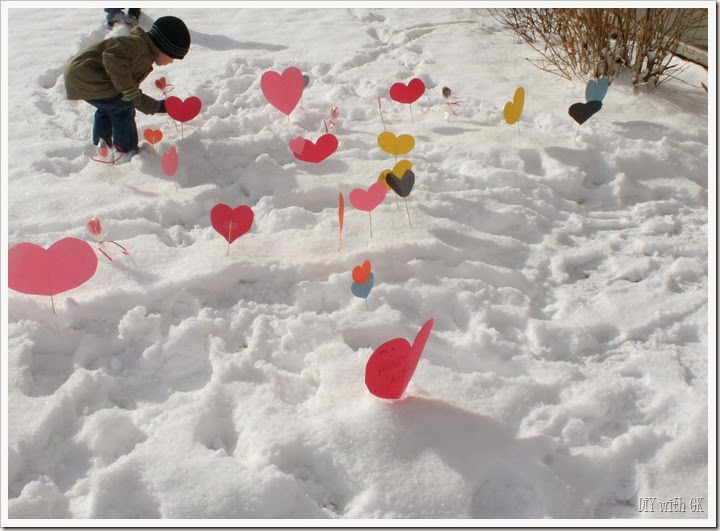
With the paper hearts & the Peeps pops, we went to our neighbor friends and, as quietly as we could, “heart attacked” their front yard! I thought we had a lot more hearts than we did, so the yard wasn’t as covered in hearts as I planned, but it was fun for the boys to attack the yard with the hearts. I’m sure our friends were watching us the whole time, but I don’t care. They boys loved surprising their friends with lots of hearts and candy in the snow! We’ll see if they keep the secret ;)

IMG_4881

IMG_4877IMG_4878IMG_4883  IMG_4884

It was a fun way to get into the Valentines spirit and a great way to use the Peeps!

================================================================================

image
If you’re here just for the giveaway, then this is where you want to be. Peeps & Company®generously sent us a lot of products, so we are here to share the love!
If you are interested, you can enter to win a Valentines Peeps prize pack, which includes one package of each of the following treats:

imagePeeps chocolate dipped strawberry crème flavored chicks // Peeps chocolate mousse flavored marshmallow bears // Peeps marshmallow hearts // Peeps [dark & milk] chocolate covered raspberry flavored hearts // Peeps strawberry crème flavored marshmallow hearts // Peeps vanilla crème flavored marshmallow hearts // Peeps sugar-free marshmallow hearts

These Valentine Peeps make for great valentines, great treats & a great way to tell someone you love them! The flavors are awesome, but you really should try them for yourself. Here’s how you enter to win the prize pack above --

a Rafflecopter giveaway

**giveaway open to U.S. residents only**

*We received the products free of charge from Peeps & Company®. We were not compensated
in any way to write this post or giveaway. All thoughts & opinions are our own.

diy with kiley

January 29, 2014

M week

I have been slacking with preschool lately. Ever since Christmas I haven’t been putting as much effort into it as I did before. I’ll get it gear soon enough, hopefully!

Music – We started with the big letter M, traced it with his finger & then put music note stickers all along it. Now that he knows what music notes are, he can find them in books & understands that it means ‘music’. They did these music note pages that I made & lastly I gave my boys different types of musical instruments (dollar store types) – ie: kazoo, harmonica, and tambourine. 

image

Monster – This was a fun day. It’s wasn’t as much preschool as it was little B’s birthday! We had a monster themed party, so there were monsters all over. You can read more about the monster party HERE. Aside from the cupcakes & balloons, I had little G help me draw scary faces on the monster decorations & all the kids got to make their own monster by coloring a blank monster & gluing on eyeballs they found hidden in play dough.

image

Money [ideas from HERE] – (1) We did another big letter M, traced it and put coin stickers on it. (2) I hid some coins in their tubs of rice/wheat & they dug and played in them until all the money was found. When little G found his, he separated them by size & color (then we talked about what the different names were). (3) With the pennies he found (5 of them) he played a heads & tails game. I printed out a sheet that he could chart what he got each round (heads or tails). (4) I helped him rub the different types of coins on paper with crayons, the heads & tails side or each (idea from HERE). (5) We played a little counting game my sister gave me. (6) I made him a paper wallet with some fake dollar bills & set up a very simple grocery store. He got to ‘buy’ what he wanted for his lunch. Probably his favorite thing to do all day!

image

diy with kiley

M WEEK!


FEATURED ON:

igamemom

January 23, 2014

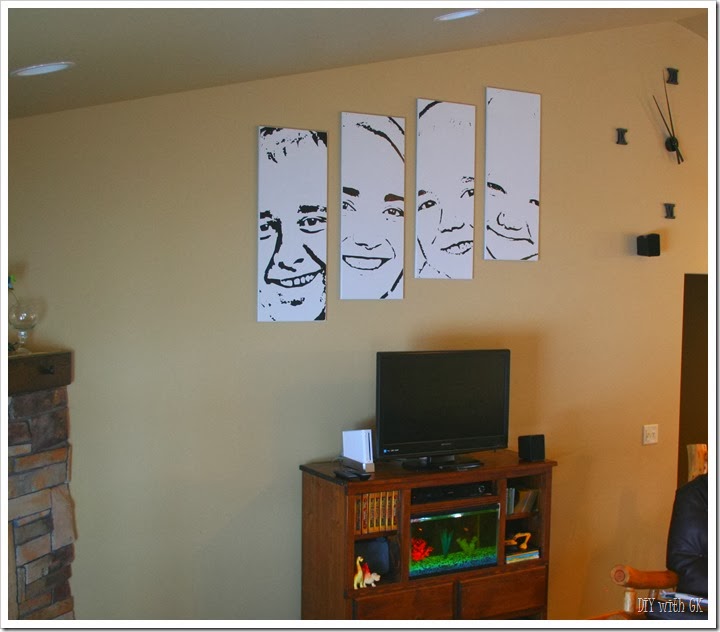
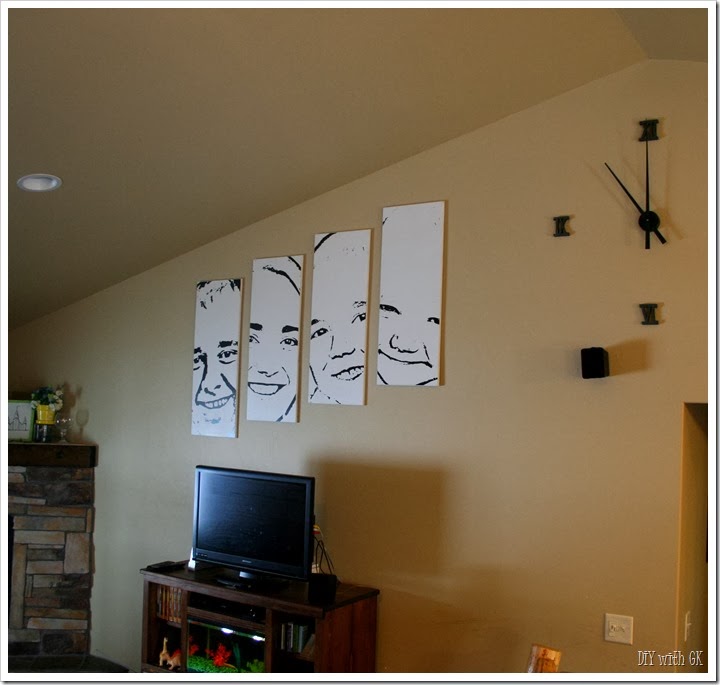
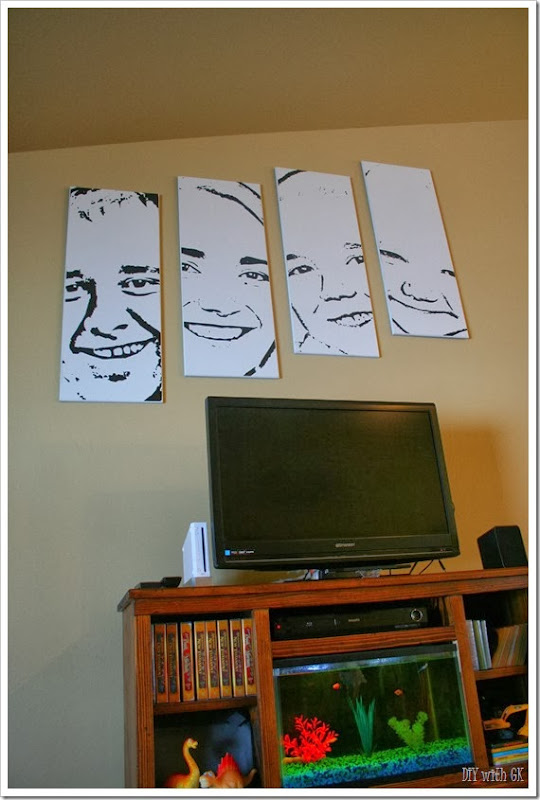
Enlarged Outline Photos {family style}

This project came to me one night, just before my head hit the pillow. I love getting inspiration like that; out of the blue, when I’m super exhausted, but ends up being the perfect idea.

image

We have vaulted ceilings in our house & it’s hard for me to decorate on those walls. We’ve lived in our house for over 4 years and there hasn’t been anything on this wall, until now! I knew I wanted these pictures to be big, a huge statement when people come to our house. But it’s not just for others that visit us. I love looking at these pictures, particularly the cute little grins on our boys!

So here we go, this is how I made our enlarged outline photos of my family to go on the walls of our vaulted ceiling in the living room.
(if you are more interested in buying them instead of making them, by all means, visit our shop HERE!)

 image
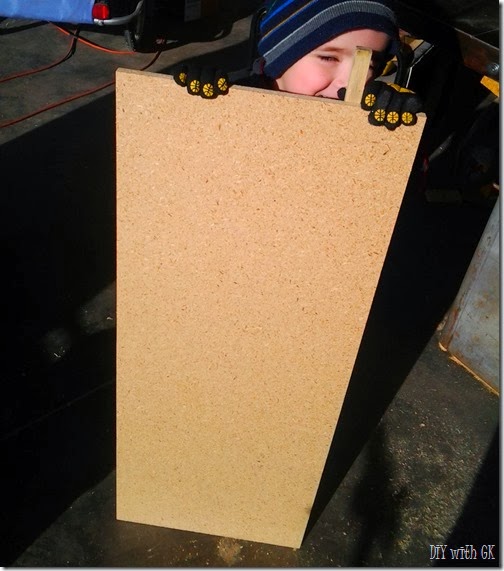
I went to Home Depot & bought a sheet of MDF (1/2”). I also had them cut it right in the middle so that it would actually fit in my truck without sticking out the bed. Did you guys know that? Home Depot will make one cut for free, so you might as well utilize that free gift when you are purchasing a huge sheet like MDF (comes in 4’ x 8’ sheets).

image
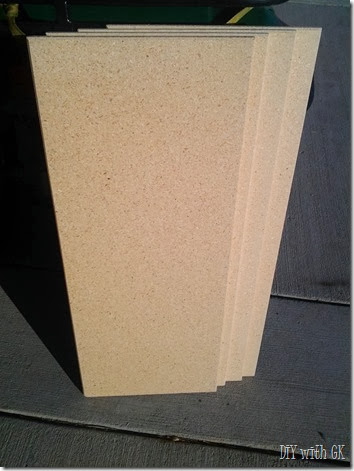
When I got home, I cut them to size on our table saw. My boards are 14” x 36” and I set the table saw fence at each length and cut all four before I switched the fence to the next measurement. Working on my efficiency skills right there, folks!

20140117_112842

image
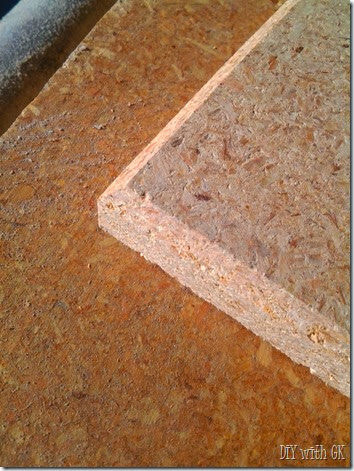
I also routered all the edges with a bevel edge. MDF isn’t the best thing to router, so I had to be careful about it and went with the blade so that it didn’t tear the board to shreds.

20140117_113451 20140117_151457

image
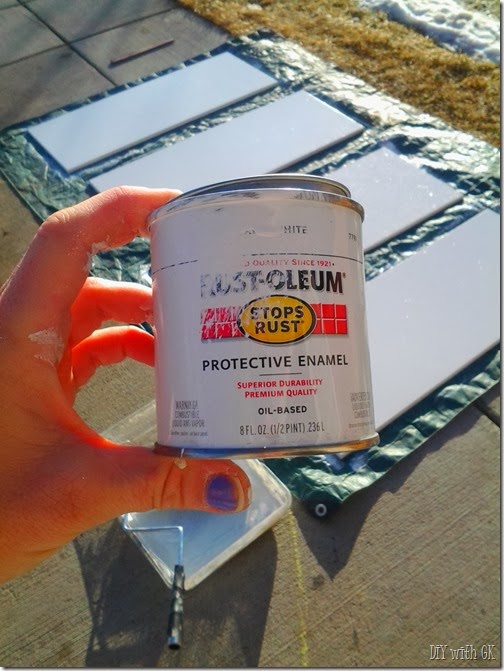
Next came the paint. I’m a solid Rust-oleum fan, particularly when it comes to spray paint, so I went with Rust-oleum protective enamel, satin white(got it at Wal-Mart for less than $4). That little 8 oz. can barely covered all four boards, but it was practically the perfect amount. I probably could have use another 1 ounce, but I made it work.

20140117_154320

image
Meanwhile, as the paint dried, I got to work in the Silhouette Studio. This is the main part of the whole project, the photos. Here’s a quick run through on how-to:

(1) Find the pictures you want to use.
(2) Import them into Silhouette Studio.
(3) Trace. This part was a little more involved because I had to adjust the ‘high pass filter’ and the ‘threshold’ until it was how I wanted it to look. It’s best if the photos are a higher resolution & overall all good quality when it comes to this part, otherwise it gets pretty gritty and pixilated, or weird dark spots because of the lighting, etc.
(4) Adjust the size of the picture and crop as needed to make it fit on your board (again, mine was 14” x 36”, then adjusted for the beveled edge).
(5) Cut the vinyl. My Silhouette only cuts 8.5” wide, so it was quite the process getting things cut & lined up in pieces. Ugh. I need a bigger vinyl cutter!!

image

image
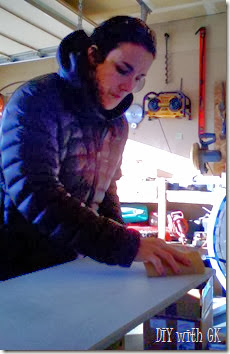
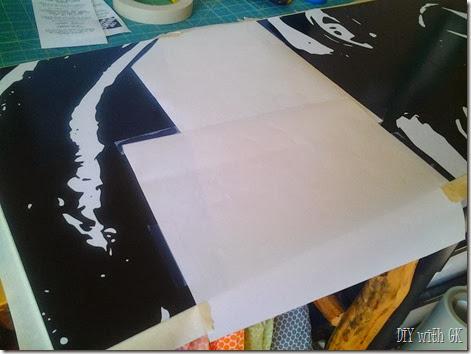
Once the paint was dry (24 hours later) I lightly sanded with a fine grit sandpaper. Then I cleaned off the dust to prepare the boards for the vinyl. Now, just to be clear, these outline pictures are white & black paint. Not vinyl. I used the vinyl as a stencil, not the actual art piece. I didn’t know if the vinyl would line up perfectly or if you would be able to tell that they were in pieces (because my Silhouette only cut 8.5” wide, and the boards were 14” wide), and I thought that would be pretty tacky if you could see the pieces that didn’t go together exactly. So I opted for using the vinyl as a stencil and then black paint for the picture.

20140118_095131 20140120_115413
[sanding, and part of a board ready for painting - with the stencil & paper & tape applied]

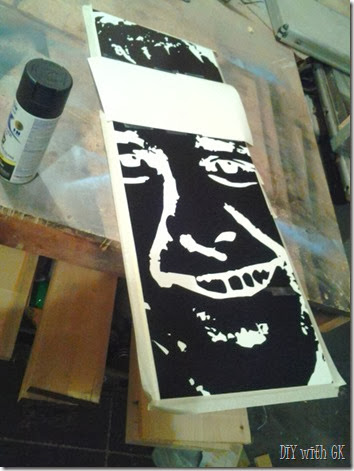
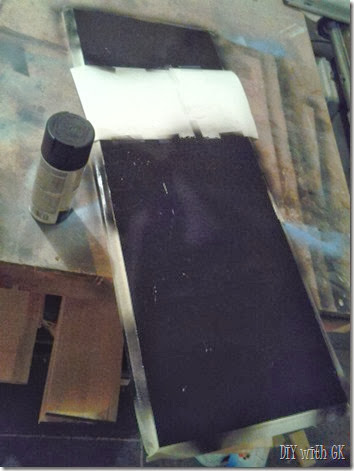
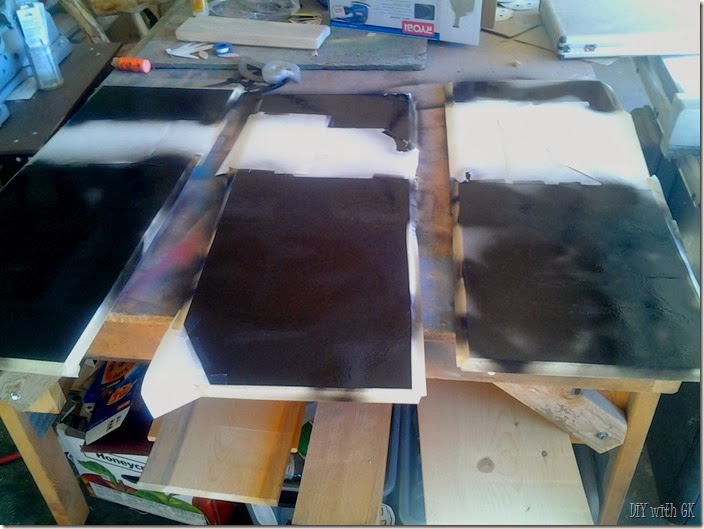
It was a bit time consuming to apply the vinyl stencil and cover up all the edges & places that I didn’t want painted, but it was so worth it! Once that process was done, I painted. I used Rust-Oleum 2x coverage spray paint, semi-gloss black.

before                                     -and-                                         after
20140118_172321 20140118_172614
20140120_115824

image
The fun part was the reveal. Peeling off the vinyl, tape & paper after the black paint was dry. For every picture, I was nervous that it wouldn’t turn out right, but each time I finished, it was perfect. Check out this video of the reveal on my picture, it makes me smile every time (literally, as you will see at 26 seconds in!!)


image
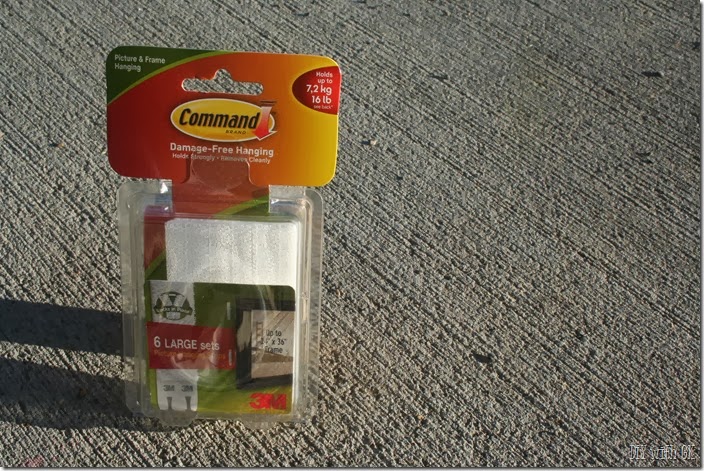
Hang them up! I tried a new method for hanging these pictures. I didn’t want to deal with a nail in the wall, let alone 8, so I talked myself into these Command strips.I saw an advertisement on Hulu for them so I went with it.

IMG_4786

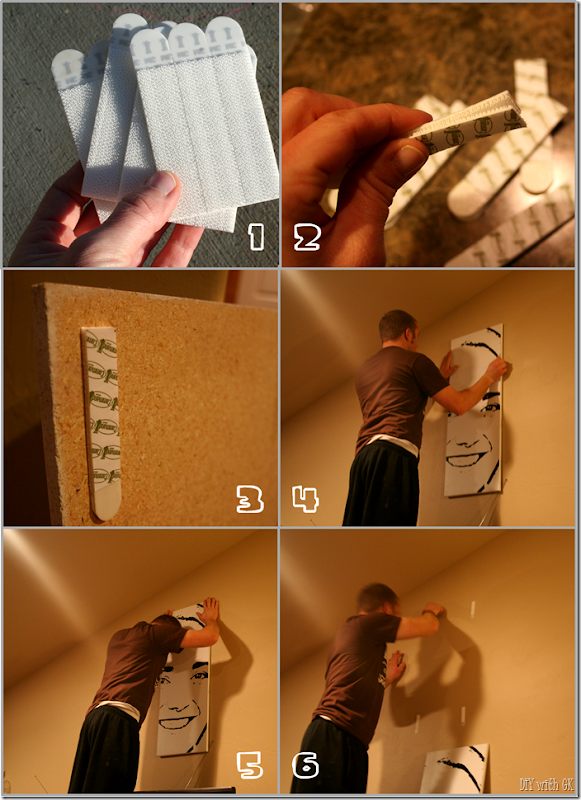
Two sets of these large mounting stripscan hold up to 8 lb pictures, and my boards are 6.5 lbs each. It was really easy to apply them too. The instructions are right on the back of the container, so I wont do a step-by-step descriptive for that process. Although, here is a quick picture lesson for ya!

image

Then you admire your work, every day! I think one of my absolute favorite things about these new pictures is that my 2 year old sees them and every time will say in his language who each one is and laughs. It is the cutest!!

IMG_4809IMG_4822IMG_4818
______________________________________________________________________________________________________

If you are interested in purchasing your own enlarged line art portraits, please visit our etsy shop – HERE!
image
_______________________________________________________________________________________________________

diy with kiley

--


{FEATURED ON}
imagestonecottage