December 30, 2016

12 days of Christmas - Secret Delivery!

Grant loves to do the 12 days of Christmas each year. We pick a family we are going to secretly deliver things to and start it on December 13th (so it ends on Christmas Eve).

This year I put together a 12 days of Christmas that was more than just a fun treat each night. I wanted to make it more meaningful for the season. So I cut out a wood nativity, and each day they got a different piece or group from the nativity along with a scripture that went along with it, and of course a treat!

See all the pictures below! At the very end of this post are the templates for the nativity set and the scripture tags (using the Silhouette Studio).

On the first day of Christmas...
 

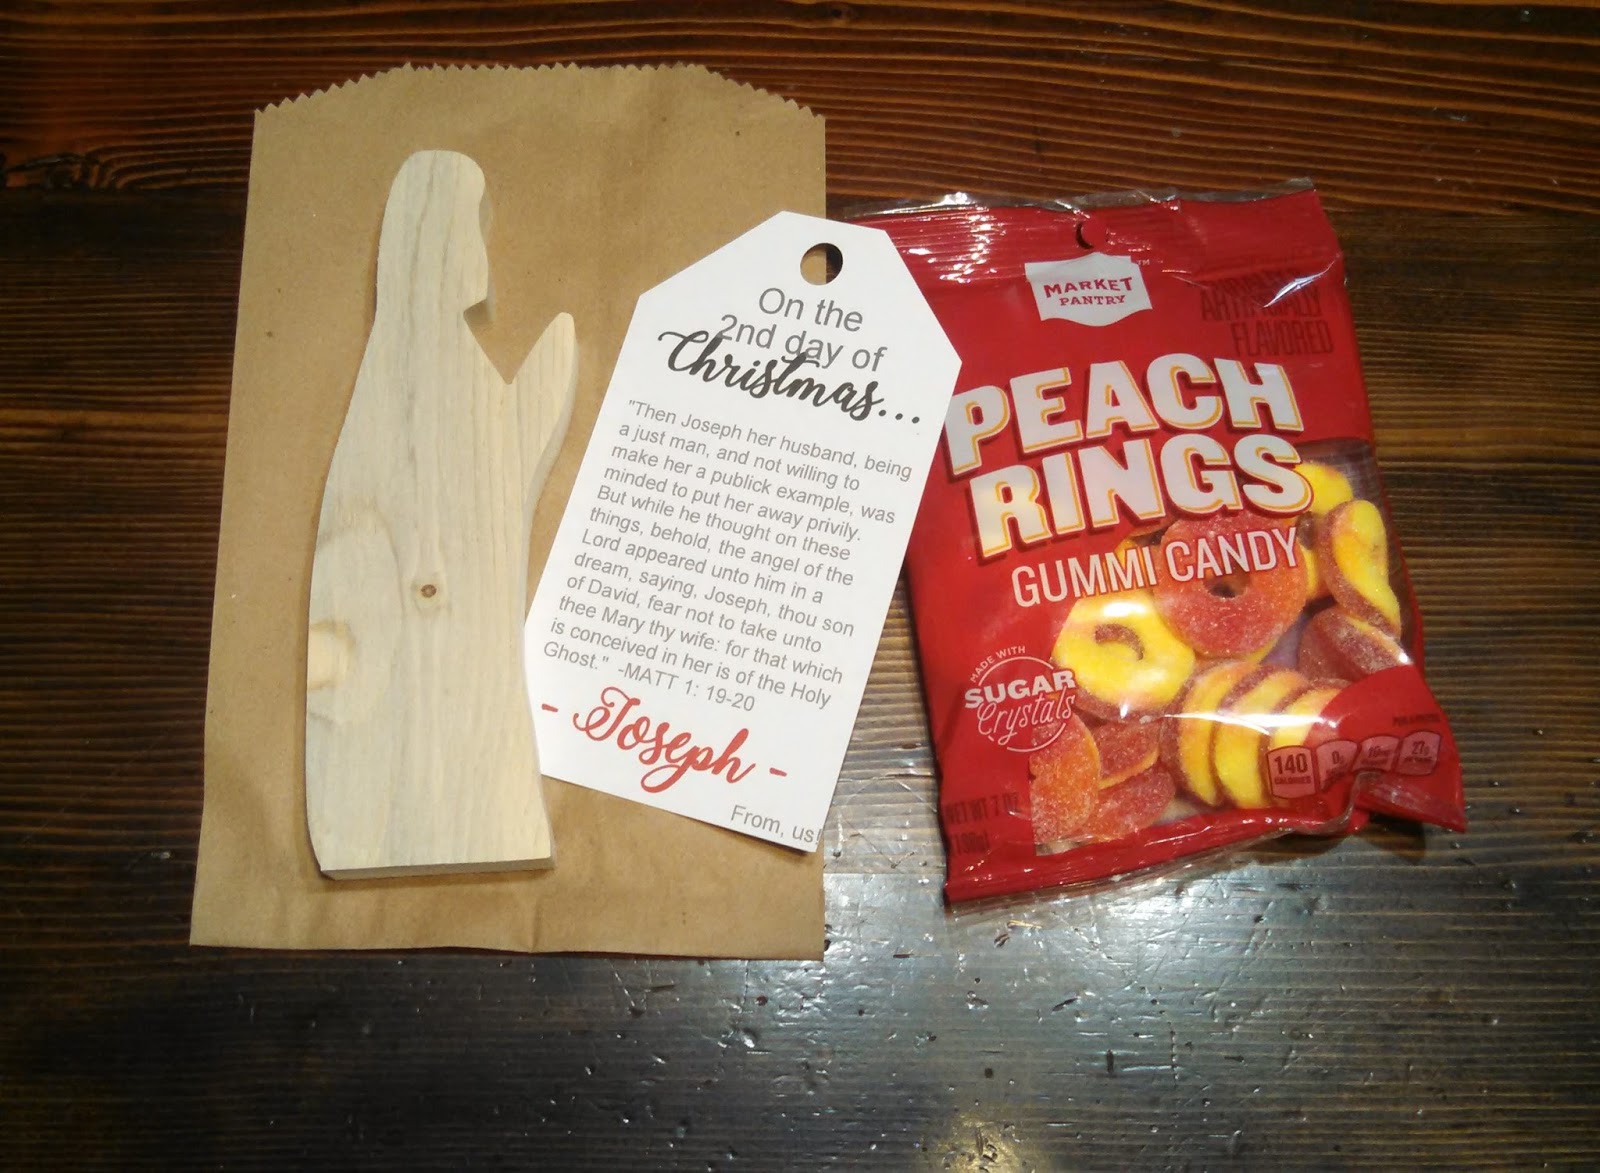
On the second day of Christmas...

On the third day of Christmas...

On the fourth day of Christmas...

On the fifth day of Christmas...

On the sixth day of Christmas...

On the seventh day of Christmas...

On the eighth day of Christmas...

On the ninth day of Christmas...

On the tenth day of Christmas...

On the eleventh day of Christmas...

On the twelfth day of Christmas...

And all of them packaged and ready to deliver...

I didn't get a picture of the whole nativity set together, because honestly I was usually cutting them out the day of, right before we delivered them! One of these days I'll cut a set out for our family.

Here are the templates you can download for the nativity and tags. Unfortunately I only have the tags available on the Silhouette Studio.

Nativity 1
Nativity 2
Nativity 3
Nativity 4
12 days of Christmas tags

MERRY CHRISTMAS!

December 5, 2016

Christmas Countdown - drawstring bags

I have been in need of a good Christmas countdown for my kids for a long time! I ususally just print out a picture of Santa and they pull Hershey Kisses off his beard, or a calendar they put stickers on. So, I decided to take it a little further, and hopefully this one will last a long time. This project literally took me 2 1/2 hours to complete, and cost me nothing because I had everything in my "office" already, aside from the treats!


My side business, The Baxter Boy, has some Christmas prints left over from past years, so I used those pre-cut rectangles to make my bags. Start with a 5" x 8" piece of fabric.


Fold over the "top" along the long side of the fabric, wrong sides together, about 1/2". Sew in place.


Then fold in half, right sides together, with the 'top' at the top. Sew around the bottom and side edges, stopping at the seam you previously just sewed. When you cut off the strings, also cut the 'top' corner at an angle.


Turn inside out!


Use a ribbon, or string, rope, etc, with a safety pin on the end and slide it through the 'top'. This is your drawstring. Once it is all the way through, tie the ends together, leaving as much length as you want (I left about 2").


The final step was using my Silhouette machine to cut out some grey heat press vinyl numbers (1-24), and I used 'Mountains of Christmas' font. My numbers are about 1.5" tall.


Then fill them with treats! I also included a daily service idea for them to do (see HERE).


And hang them up with clothespins. I only had yarn, so that's what I went with to hang them on. It's up high enough that the kids can't grab them whenever they feel like a snack ;)


Merry Christmas [countdown]!!!