June 26, 2014

DIY Stars – door décor, t-shirts, & popsicles

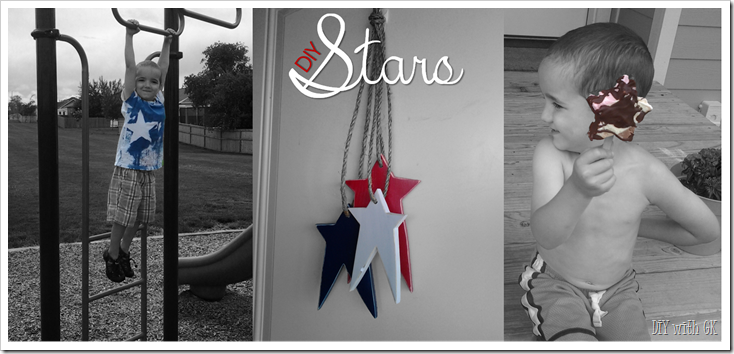
With Independence day not too far away, we’ve been trying to do some prep for the holiday. This post is all about the STAR projects we’ve done – Door décor, t-shirts & popsicles.

image

image
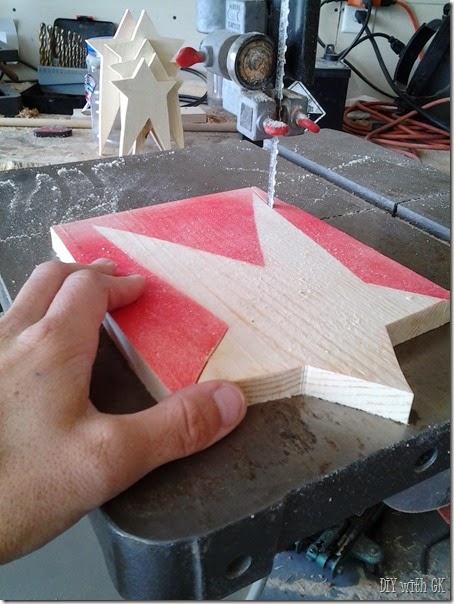
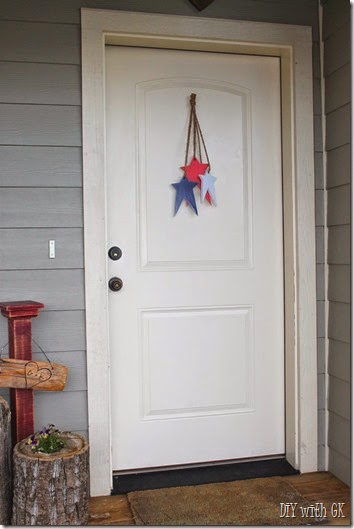
The star décor was my personal project, inspired by THIS PIN. I first drew some stars on a piece of paper and scanned in my favorite design on my computer. Then I printed 3 different sizes to use as a template for cutting them out of wood. The band saw was a lot of fun to use and was really fast cutting them out.

20140606_123041

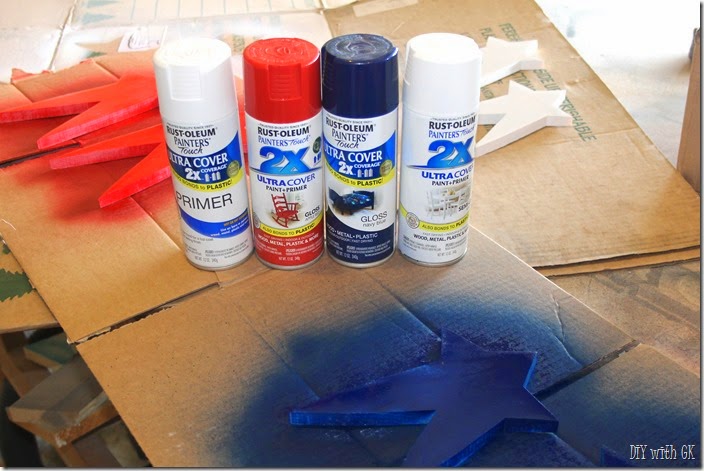
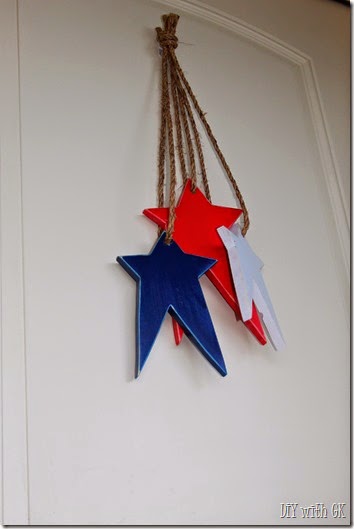
Then came the sanding and painting. I used Rustoleum double coverage spray paint – primer, apple red, navy, and white.

IMG_1004

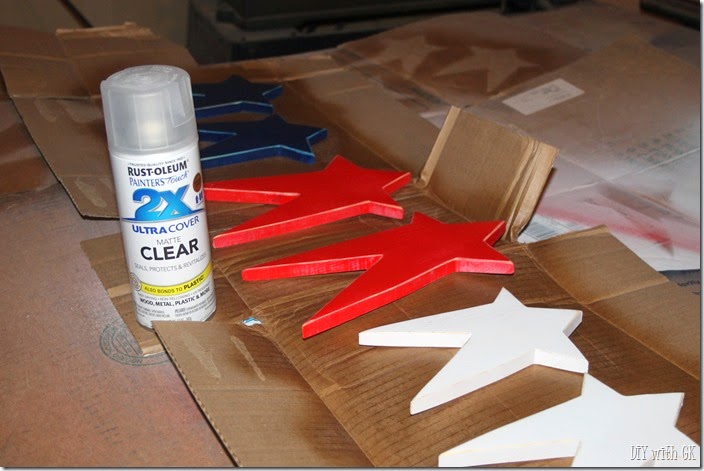
After a couple coats on both sides, and letting them dry, I sanded the edges for the rustic look. Then finished it off with a coat of gloss clear coat.

IMG_1024

The complete finished look came after I drilled a hole through the top of each star and looped some rope through. I tied them (and glued them) together at the top, making sure their lengths varied, and hung it on the door. Pretty simple!

IMG_1038 IMG_1040

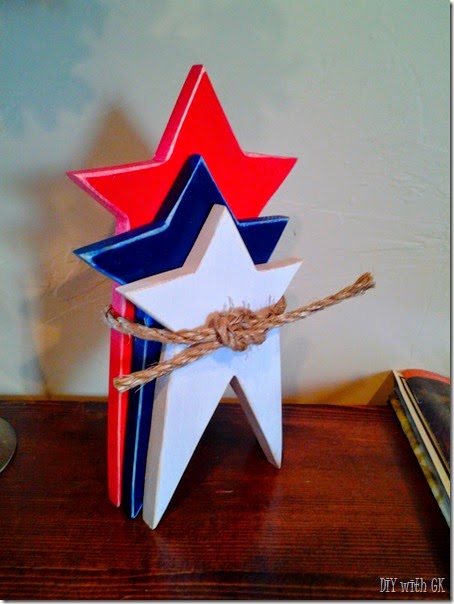
Or you could use that rope to tie them together and display on a table or shelf. Just as cute!

20140611_192712

image
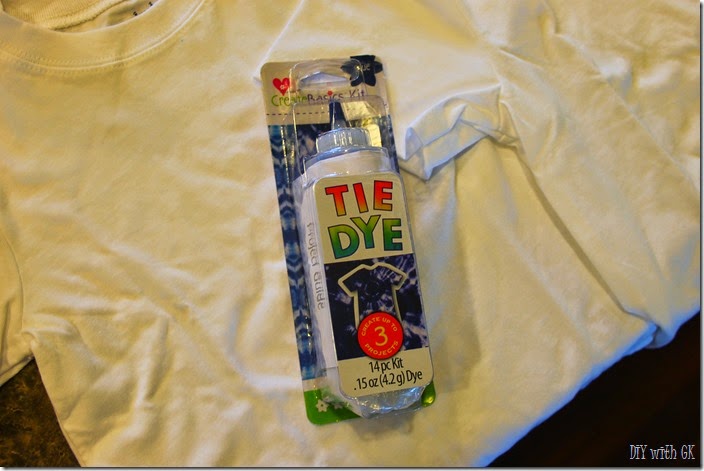
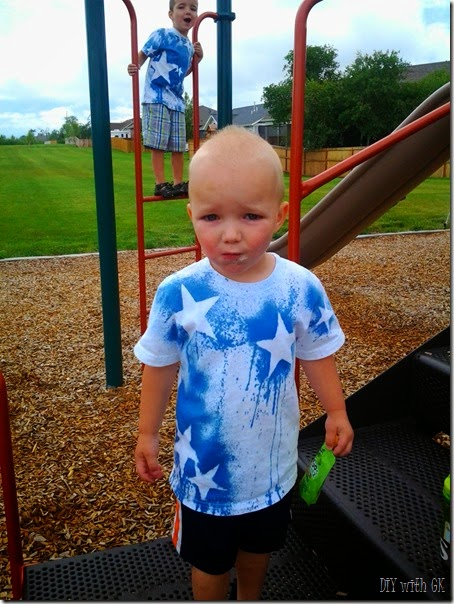
I found a different style of DIY star shirts by Erin at A Bird and a Bean. I adapted it since I couldn’t find colored shirts that fit the boys, just white ones. Instead of using bleach like she did, I bought some blue tie dye (I would have bought red too, but I could only find fuchsia). Both the tie dye & shirts I bought at Wal-Mart.

IMG_1081

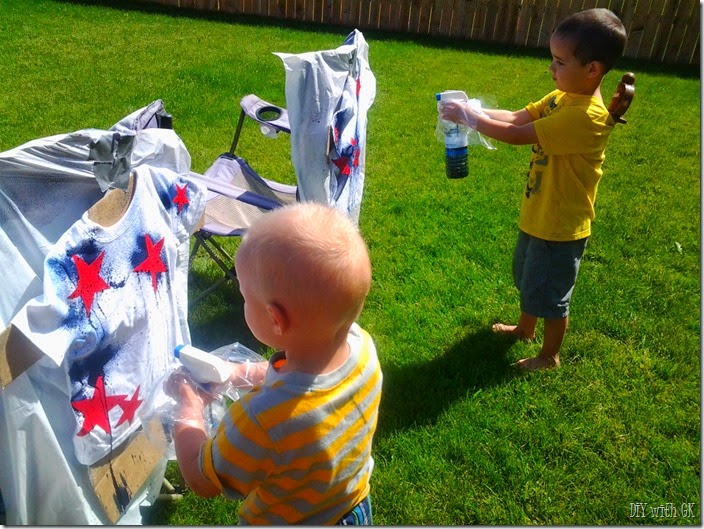
I cut out some stars on vinyl with my silhouette machine. Erin used freezer paper, which is a much cheaper choice, I just didn’t have any and forgot to buy some! After I applied the stars, I set up the painting area. I used some old camping chairs & garbage bags as the backdrop for the project, because, let’s face it, little boys & dye make for quite the mess!! Last, mix up the tie dye (super easy, just add water!). I made them wear “gloves”…plastic baggies…because the spray bottles leaked a little.

20140625_105529[spray bottles from Wal-Mart]

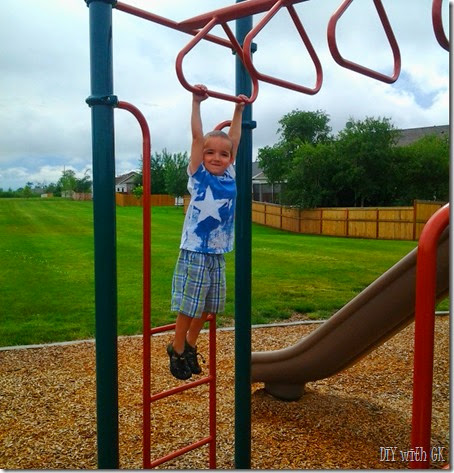
I then let them sit in the sun for about 5 hours, just to be sure. I don’t know if that was necessary, but I did it anyway. I rinsed, washed, dried and they wore them the next day. Personally I think it looks like fireworks & stars!! Perfect for the 4th!

20140626_103420

20140626_103523


image
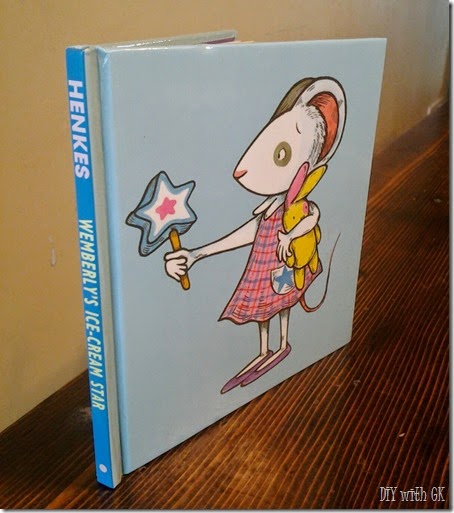
This idea came from the book Wemberly’s Ice-Cream Star by Kevin Henkes.

20140626_150403

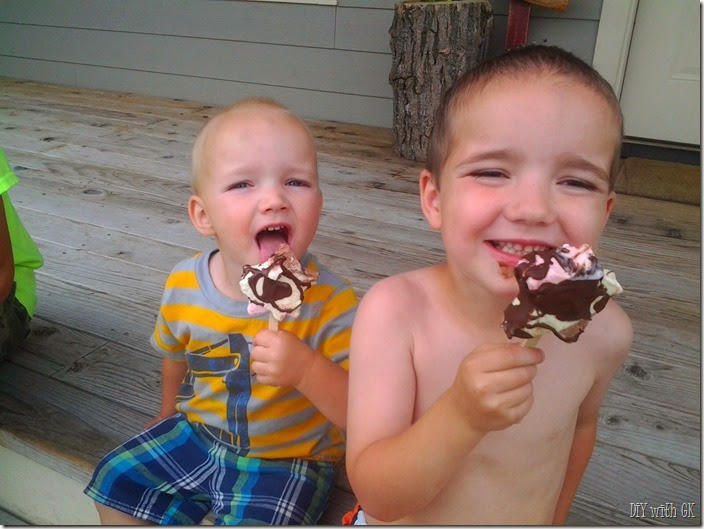
I bought a BOX of ice-cream, which is apparently harder to come by these days. When I was growing up, I swear they were only sold in the quart boxes, but now it’s mostly the tubs. The box works A LOT better because you can peel down the sides and cut an inch or two sections. Which is what I did (no pictures!) and used a star cookie cutter & a popsicle stick. I refroze them for about an hour (should have been more) then pulled them out and topped with some magic shell. The boys LOVED them.

20140625_184842

After a little while, they ended up melting and falling off the stick. So we did what Wemberly did in the book, we got a bowl and ate Ice-cream soup!

[We did the shirts & popsicles for a Star Preschool day.]

diy with kiley

June 12, 2014

Pirate Party

Our little G turned 4 this year and was talking about wanting a pirate party at least 6 months before his birthday. So I made his wish come true (as best as I could, anyway!). I like to have the kiddos help when it comes to their parties, so we started it off with his invitations. I looked online for examples of pirate party invitations and then made up my own. He put on some pirate stickers and stuffed the envelopes and wrote all his friends names on the outside.  

image

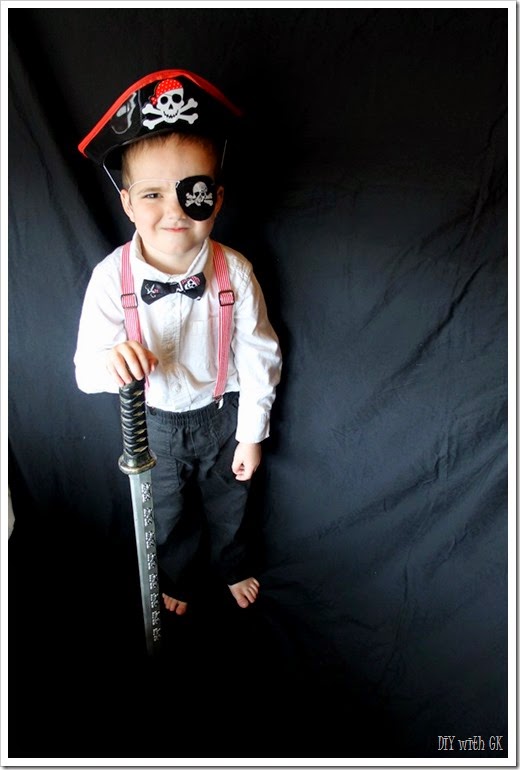
Then just to have even more fun with it, I made him a bow tie & suspender set and did a little photo shoot with him. He LOVES his pirate bow tie!

IMG_0465

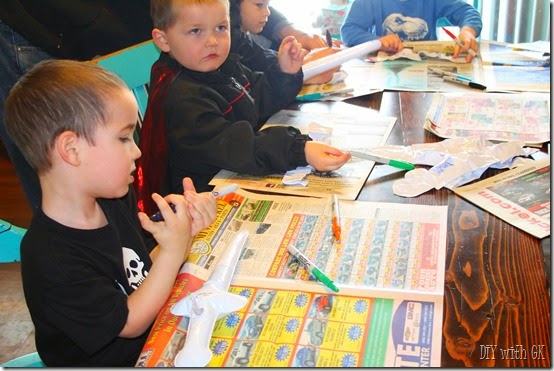
Then came the party. I ordered some inflatable pirate swords from Oriental Trading and used those as a gathering activity. While we waited for all his friends to show up, they colored their swords with sharpies (parents stayed close to keep the markers from ending up on their clothes!!).

IMG_0491IMG_0492

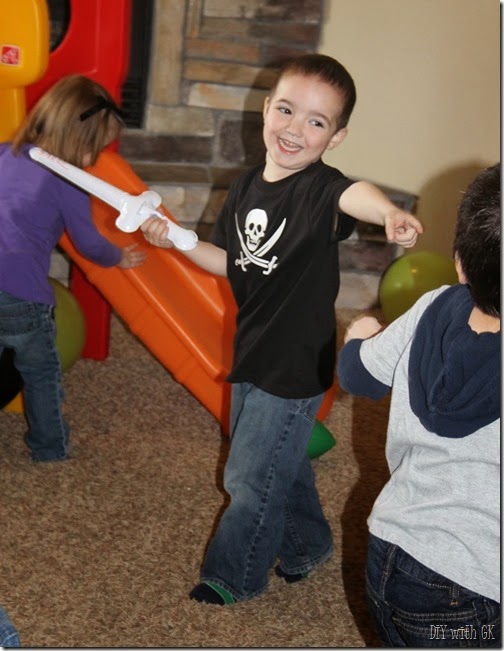
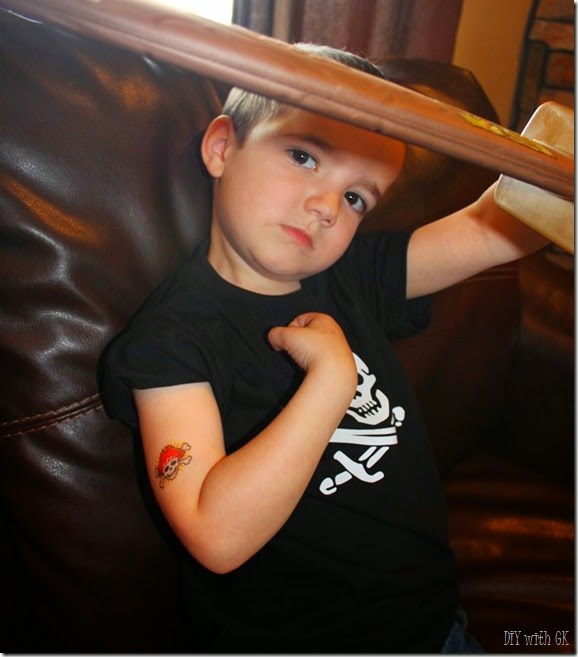
They were beyond happy to just play & “sword fight” with each other for hours! They also got eye patches & pirate hats (from Oriental Trading and PartyPlace), they didn’t stay on long though. I made his shirt using a black black shirt from Wal-Mart, and cut the heat transfer vinyl using an image from Google images (search “pirate skull”).

IMG_0496

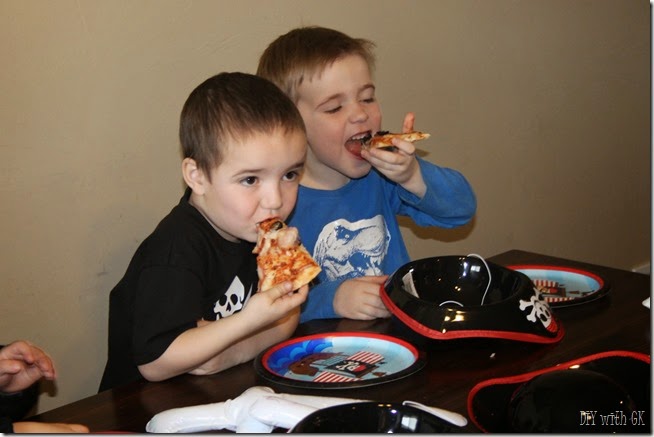
I kept lunch simple and made pizza. While they ate, I set up a treasure hunt for them to find the cake!

IMG_0512

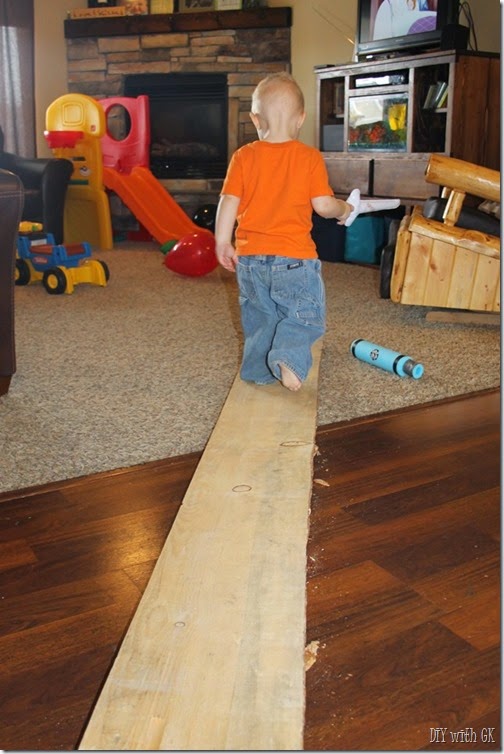
I didn’t take any pictures of the treasure hunt, but they each got a pirate telescope (as seen HERE) & in the end had to “walk the plank” to find the treasure. A March birthday in Montana is hard because everything is inside, unless we want to play in the snow & freeze! I was going to set up the plank on the steps outside so they would actually have to JUMP off of it, but that didn’t happen.

IMG_0529

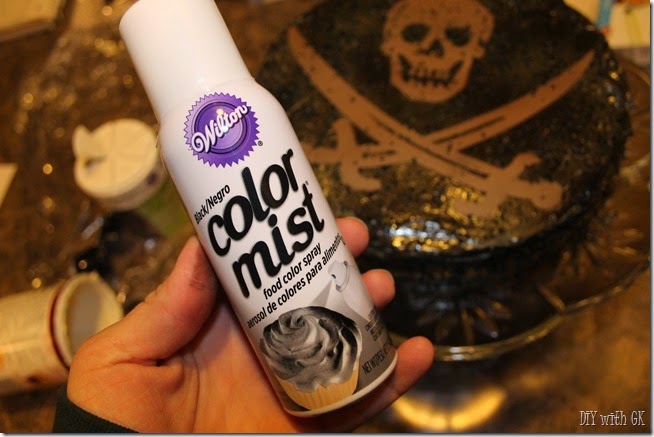
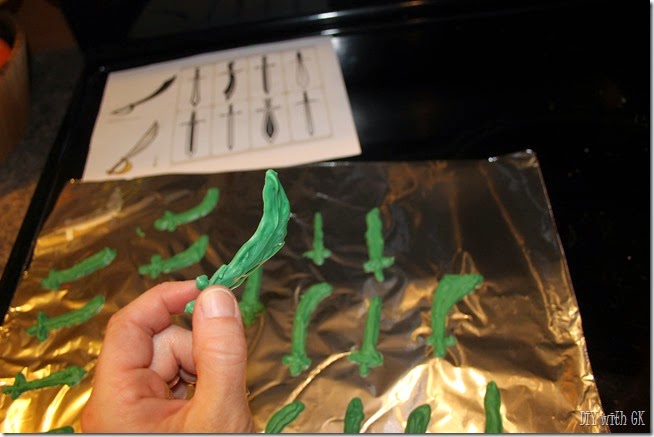
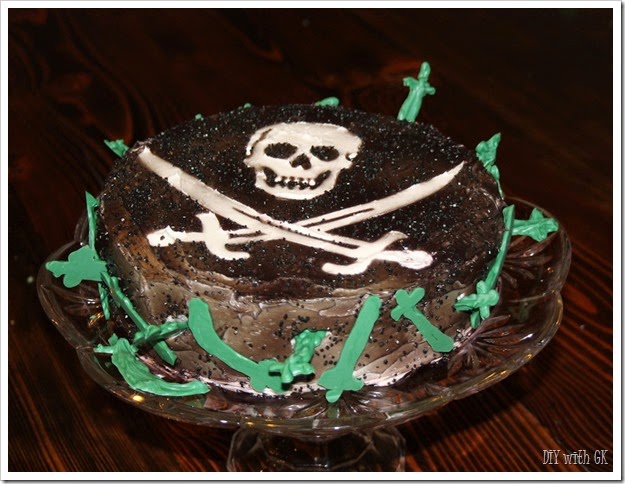
The cake! I frosted it white & used my Silhouette machine to cut out a skull & swords stencil, laid it on the cake & sprayed it with black spray food coloring. I topped it off with black sugar sprinkles & some hand made chocolate swords (Little G’s favorite color is green!).

IMG_0476IMG_0479

He asked for a pirate cake with swords on it, and he got it!

IMG_0484

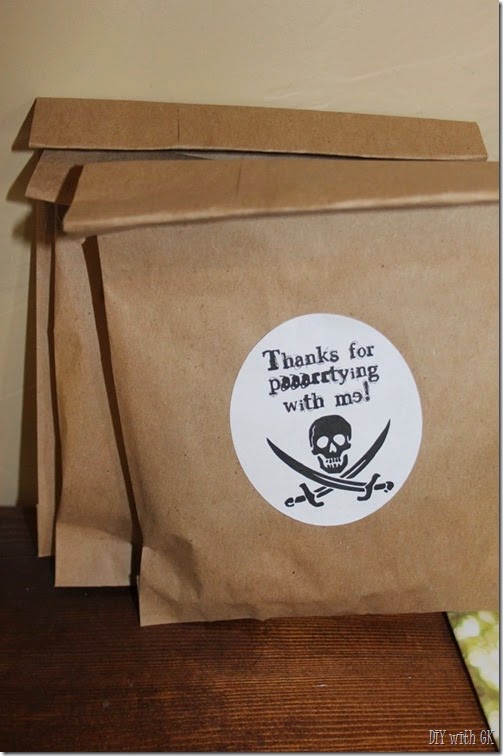
When they left, the kids kept their pirate hats, pirate swords, eye patches & telescopes. They also got a little goodie bag with suckers, pirate stickers & pirate tattoos (Oriental Trading!). [Stickers made on my Silhouette machine.]
IMG_0524

Such a fun Pirate Party for this little 4 year old!

IMG_0532

diy with kiley - Copy

June 10, 2014

R is for Rocks

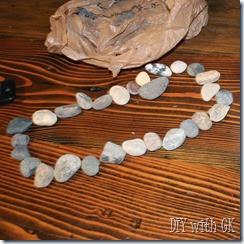
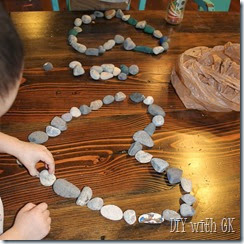
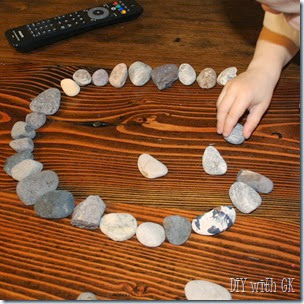
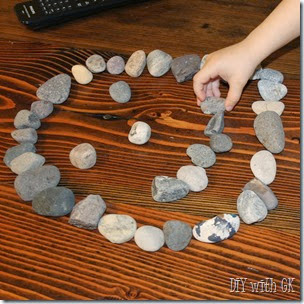
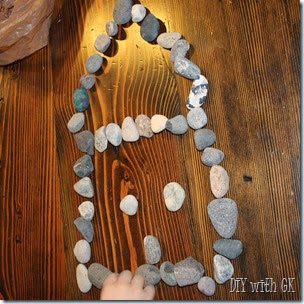
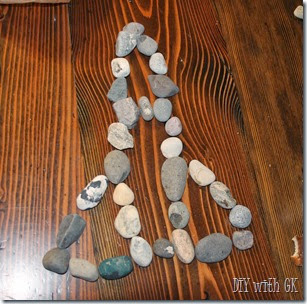
For R week in preschool, we spent one day on Rocks. This is great for preschool, but it’s also fun for kids (particularly the rock loving ones) to do anytime, especially on a rainy day. They boys had lots of fun writing our names & making shapes with the rocks.

IMG_0401IMG_0397IMG_0407

Then we “drew” pictures with the rocks.

IMG_0398IMG_0399
IMG_0404IMG_0408

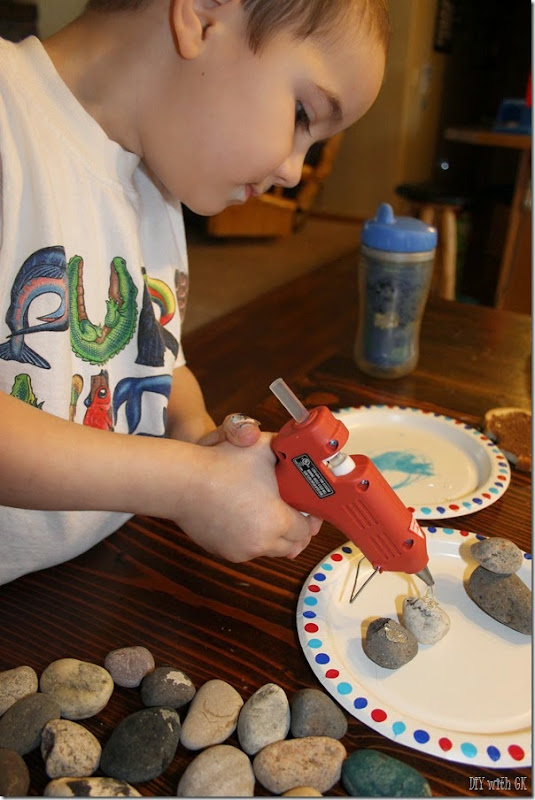
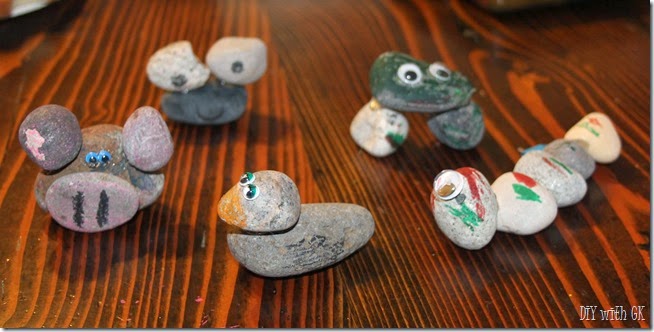
They came the really fun part. We made animals with the rocks. I helped them design the animals and little G (3.5 years old) CAREFULLY used the glue gun to glue them together. *First I had to warn him about how hot & dangerous the glue gun is and he did a great job being careful & safe.

IMG_0411

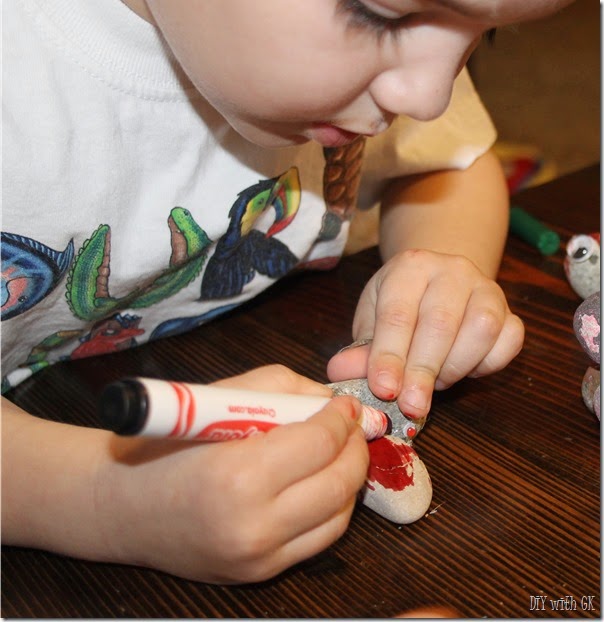
We colored the animals to make them look even more like animals. You could use paint of course, but we stuck with washable markers. To finish them off, we glued on some googley eyes.

IMG_0414

And our finished products – a pig, a monster(?), a duck, a frog, and a caterpillar.

IMG_0417

They were favorite “toys” for the day. But the hot glue didn’t hold as strong as I thought it would. Next time we might try E6000 instead. What kind of rock animals can you come up with?

diy with kiley